Mudlarking is time-consuming. I spend hours collecting, washing, drying, sorting, arranging, photographing, labeling, and writing about what I find. But I love it. I can’t WAIT to show things to people back in the US who will be able to learn from, and teach me about, what I’ve found.
Tuesday during the low mid-day tide I celebrated my children’s return to school by doing something they find mind-numbing: kneeling on hard rocks and not paying enough attention to passing boats to keep my feet dry. (The Thames doesn’t have waves, but large craft create them; they can rather quickly go further up the beach than you expect.)
I exercised little self-restraint while collecting, picking up anything that caught my eye and quickly plopping it into the bag. I had some delightful discoveries when I washed up.
This find made my day. The domino is thin, about 1.5mm. I suspect it is bone or ivory. I found it propped sideways against a rock, just one thin short edge visible. (I’ll send a photo into the Museum of London to see whether she wants to record it.)

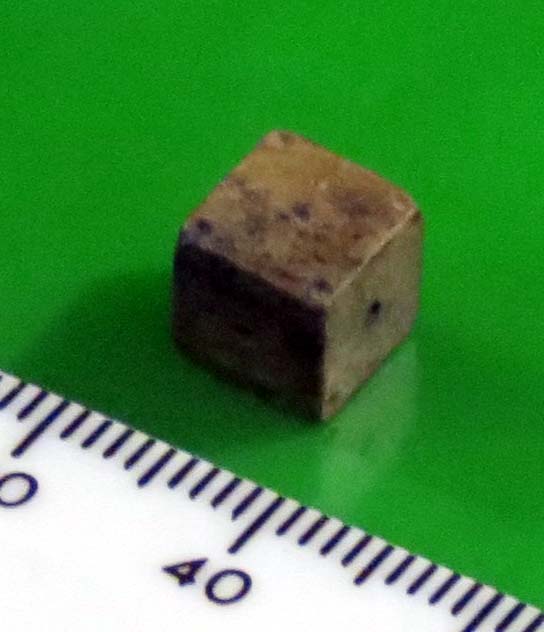
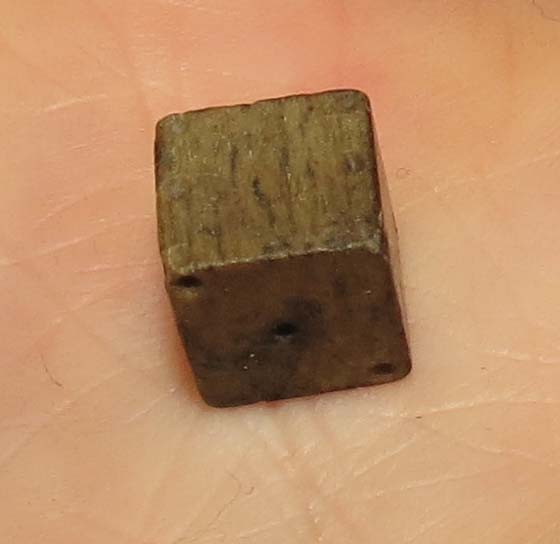
I suppose it goes well with my best find from two months ago (the last time I was out on the Thames), a wooden die:
I found a few very curious things that I cannot identify, such as the bit of antler, top left. It isn’t JUST an antler, because the narrow end is clearly worked – rounded, with some cuts. A friend suggested that it might be the top of a walking cane, but I’m not sure the top is smooth enough for that. It doesn’t have the slick, worn pattern I’d expect regular use to create. Hmmm…do you have ideas?

The rest of the objects are natural (not man-made) items I collected. Below the antler is an oyster shell – the discarded “street food” wrapper of Elizabethan London. Usually I ignore them – they’re everywhere and ugly – but this one has a faintly opalescent blue color. Below that, two bits of agate, and at the bottom, coral. These didn’t erode from the local clay; they were imported. When, and from where, I cannot tell. The other objects are mother of pearl. Someone must have worked them nearby; the small patch of beach I visited is littered with them.
What I most enjoy finding are the really tiny things. The way I FIND tiny things is to hunt for pins. When I’m close enough to the ground to find lots of pins, I’m close enough to find fabulous treasures (like a domino!). I’d heard that there was a spot with a LOAD of pins near my favorite hunting ground, but I’d never encountered it because I hadn’t been looking there when the tide was low enough. Tuesday I found it. I saw the ground just bristling with pins, I started picking them up…and counting. 341 pins and two very wet feet later (and my jeans, all the way to my knees) I quit – the incoming tide had covered the sweet spot. Before finding this “nest” of pins, I’d collected quite a few, so (as usual) I counted them when I got home. How many do you think I found?


Five hundred and thirty two. Those little piles are 25 pins each. Later, like when I can no longer go mudlarking in the Thames, I must study them. Sort them. Learn from them. Maybe polish them up and see how shiny they can get!
Besides pins, the tiniest things I found were beads (middle). The column on the left at first seamed like beads – the larger object has the tiniest hole I can imagine running through the center – but now I wonder whether they might be a fossilized something? On the right are two marble-like objects. The lower one is coarse – cracks all over, not perfectly round. Are they man-made? Were they for industrial purposes, not playthings?

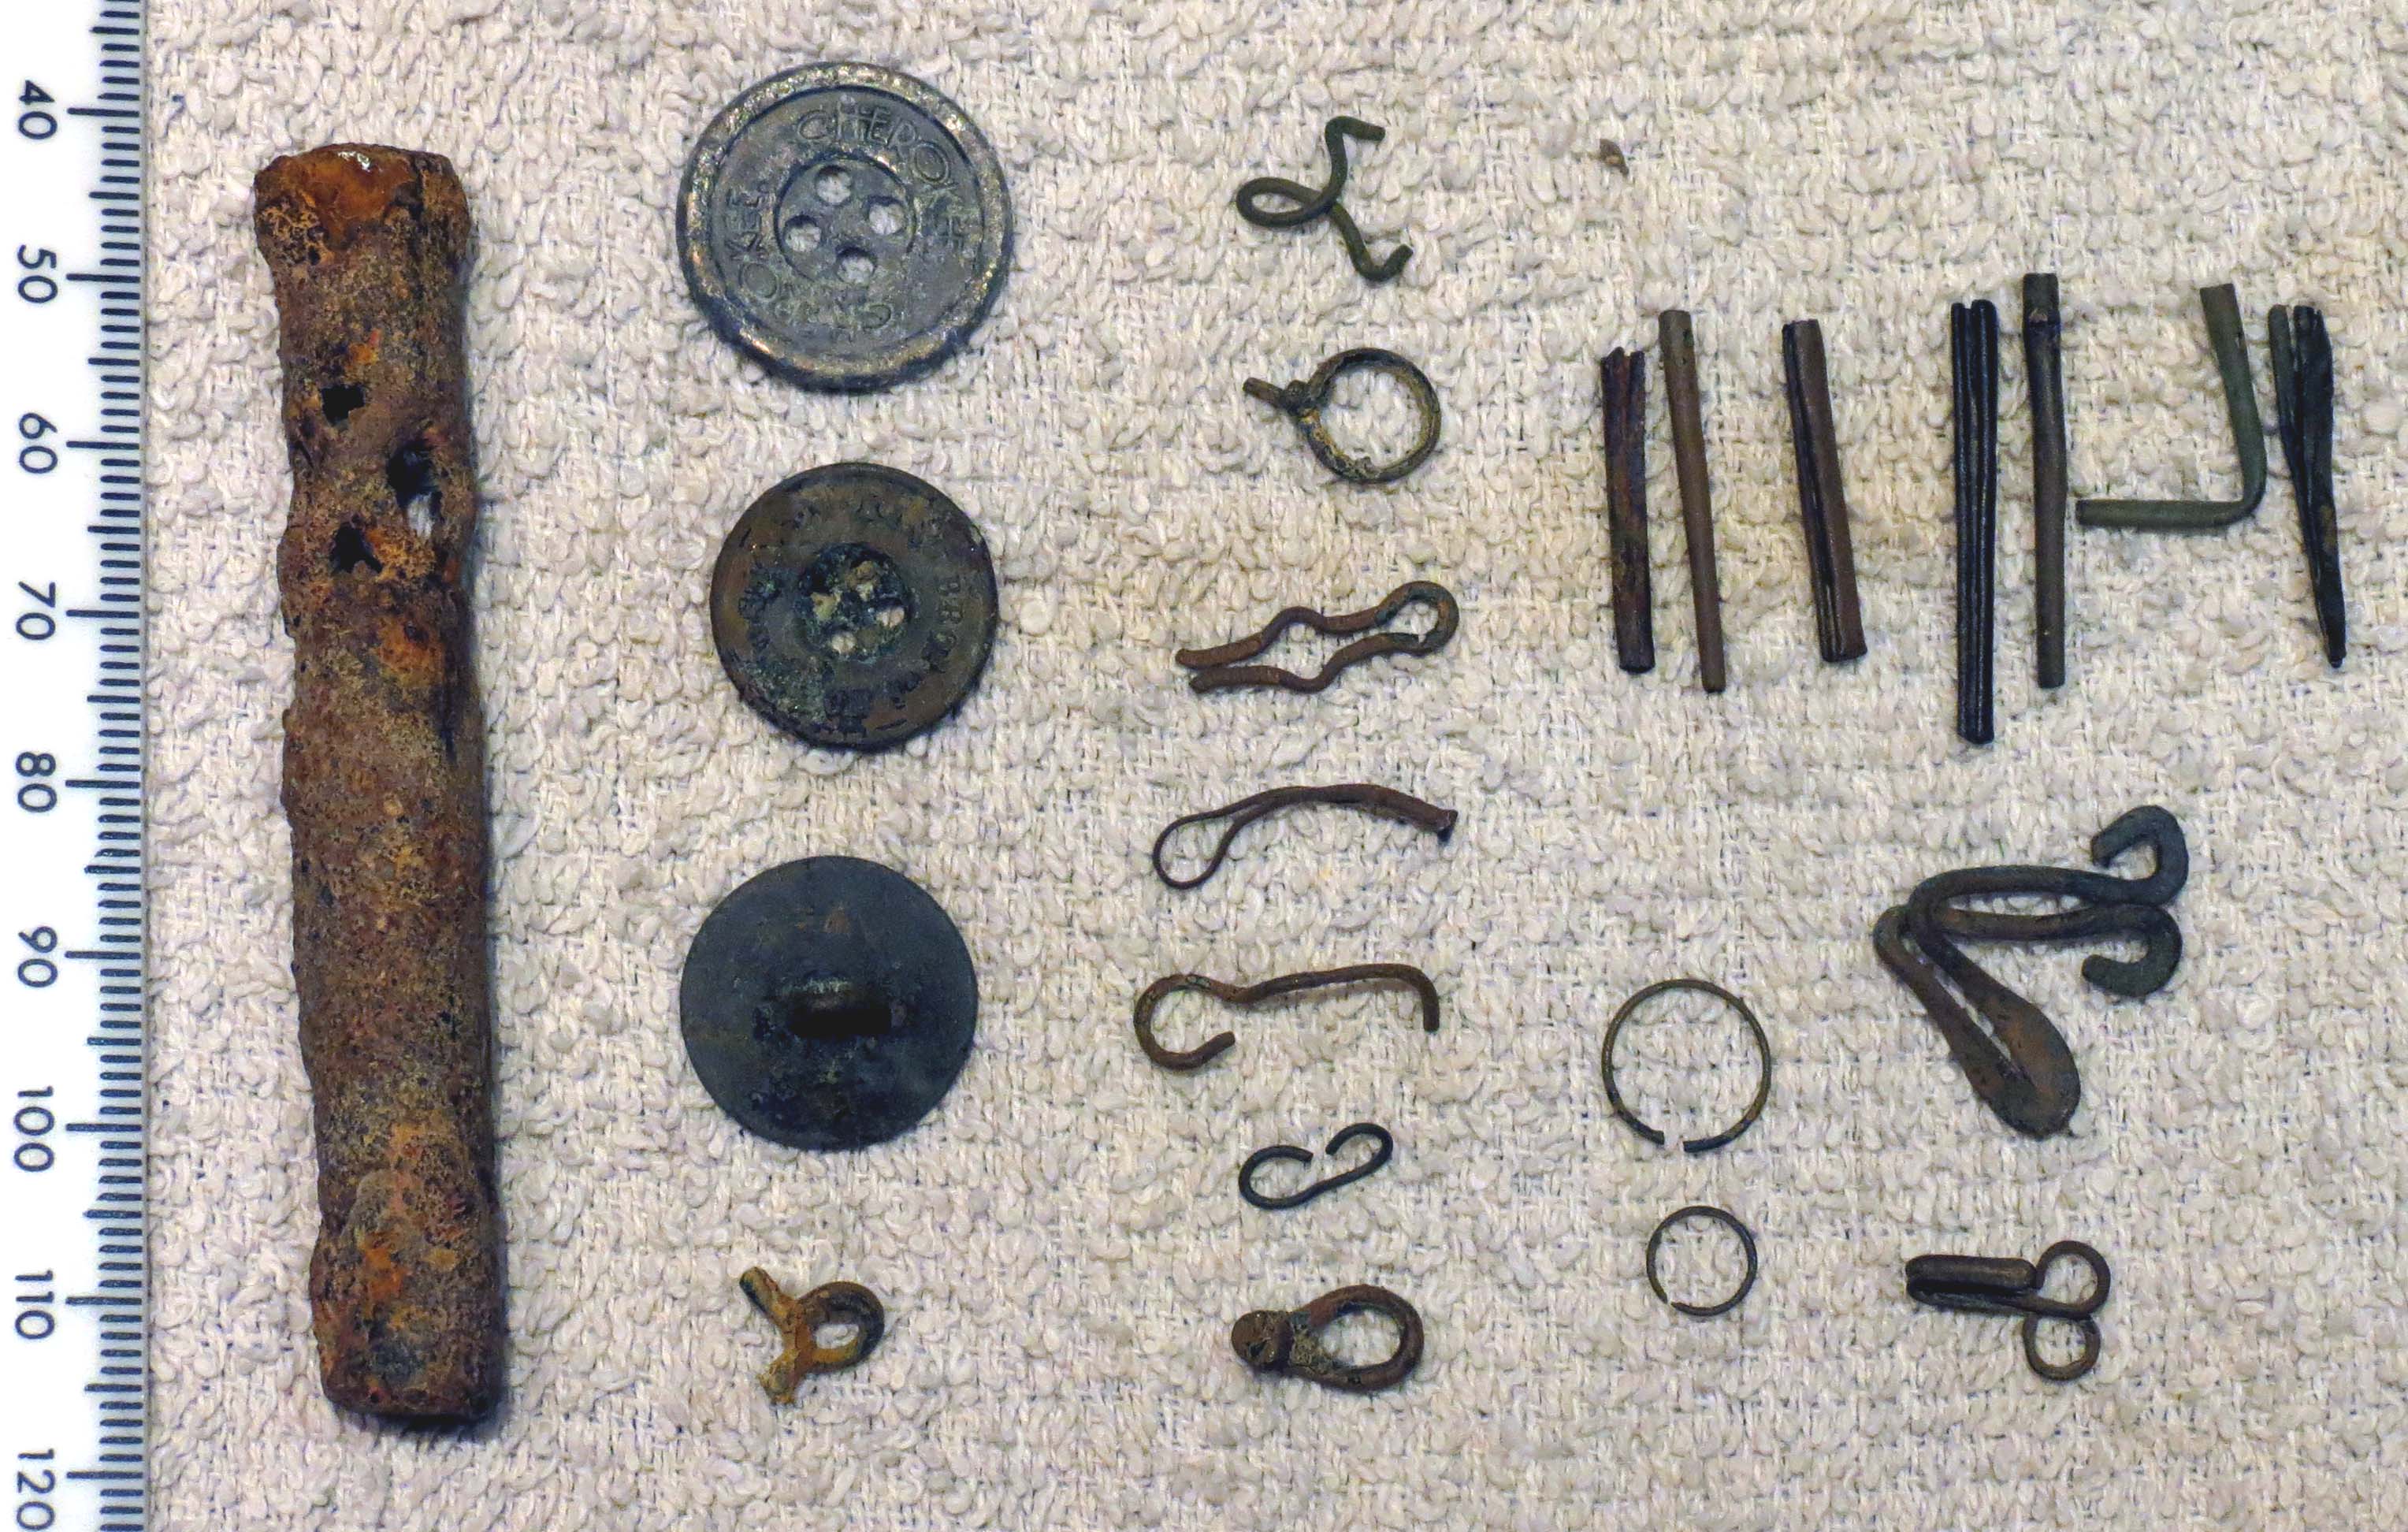
More strange and unidentified finds below: on the left, a rusted bit of pipe (now blocked with rusted-on sand, but originally hollow) with intricate piercings. What can it be?
The second column is buttons. Top a modern, boring one that says “Cherokee” – but below that is one that says “16 Fenchurch St” and “Kin(g?) Bros.” I can find the shop location – about a 20 minute walk from where I found the button, in the middle of the City of London – but I cannot decipher or locate the name of the tailors. The odd twisted bit below the third, upside down and totally plain button, is (I think) a button shank, one on which the soldering has failed, detaching it from its button.
The third column, top two items, are twists of wire that likely held goods ready for sale, maybe pins. Below are a series of wires that have been shaped, worked – but I cannot discern their uses.
Last a collection of seven aglets, two very thin wire rings, both split, and two hooks for holding clothing closed. I especially love the large bent hook, so clearly hand-made.
I have no idea why I picked up so many rusted iron nails and odd brass tacks this time out. The super-tiny tack on the right even has a pattern on its head.

Even after cleaning and studying, some of the metal and wire fragments I find are just that – unidentifiable scraps. I was actually at the point of putting away the items below before I figured out what those two similar gray bars on the left are: printer’s type. I have a colon and a lowercase letter “m”.

The long wire with the metal tag was also a surprise, because the reverse looks like this:
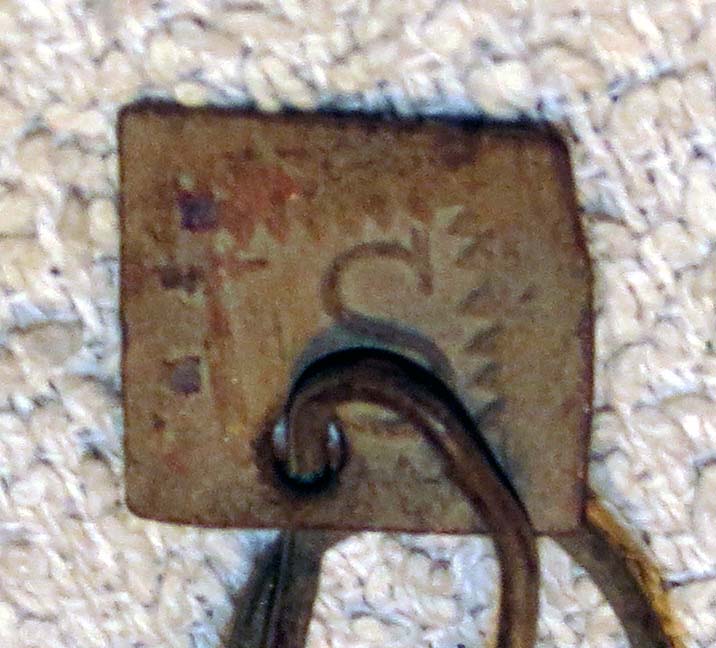
A merchant’s tag, perhaps? And is that a letter T before the S, or perhaps a poor impression of a J?
And pottery. Of COURSE I found pottery. I’m really no expert at identifying it, but I’ll do my best. I’ve linked to Julia’s excellent blog posts about similar mudlarking finds; her writing has been fascinating and informative to me.
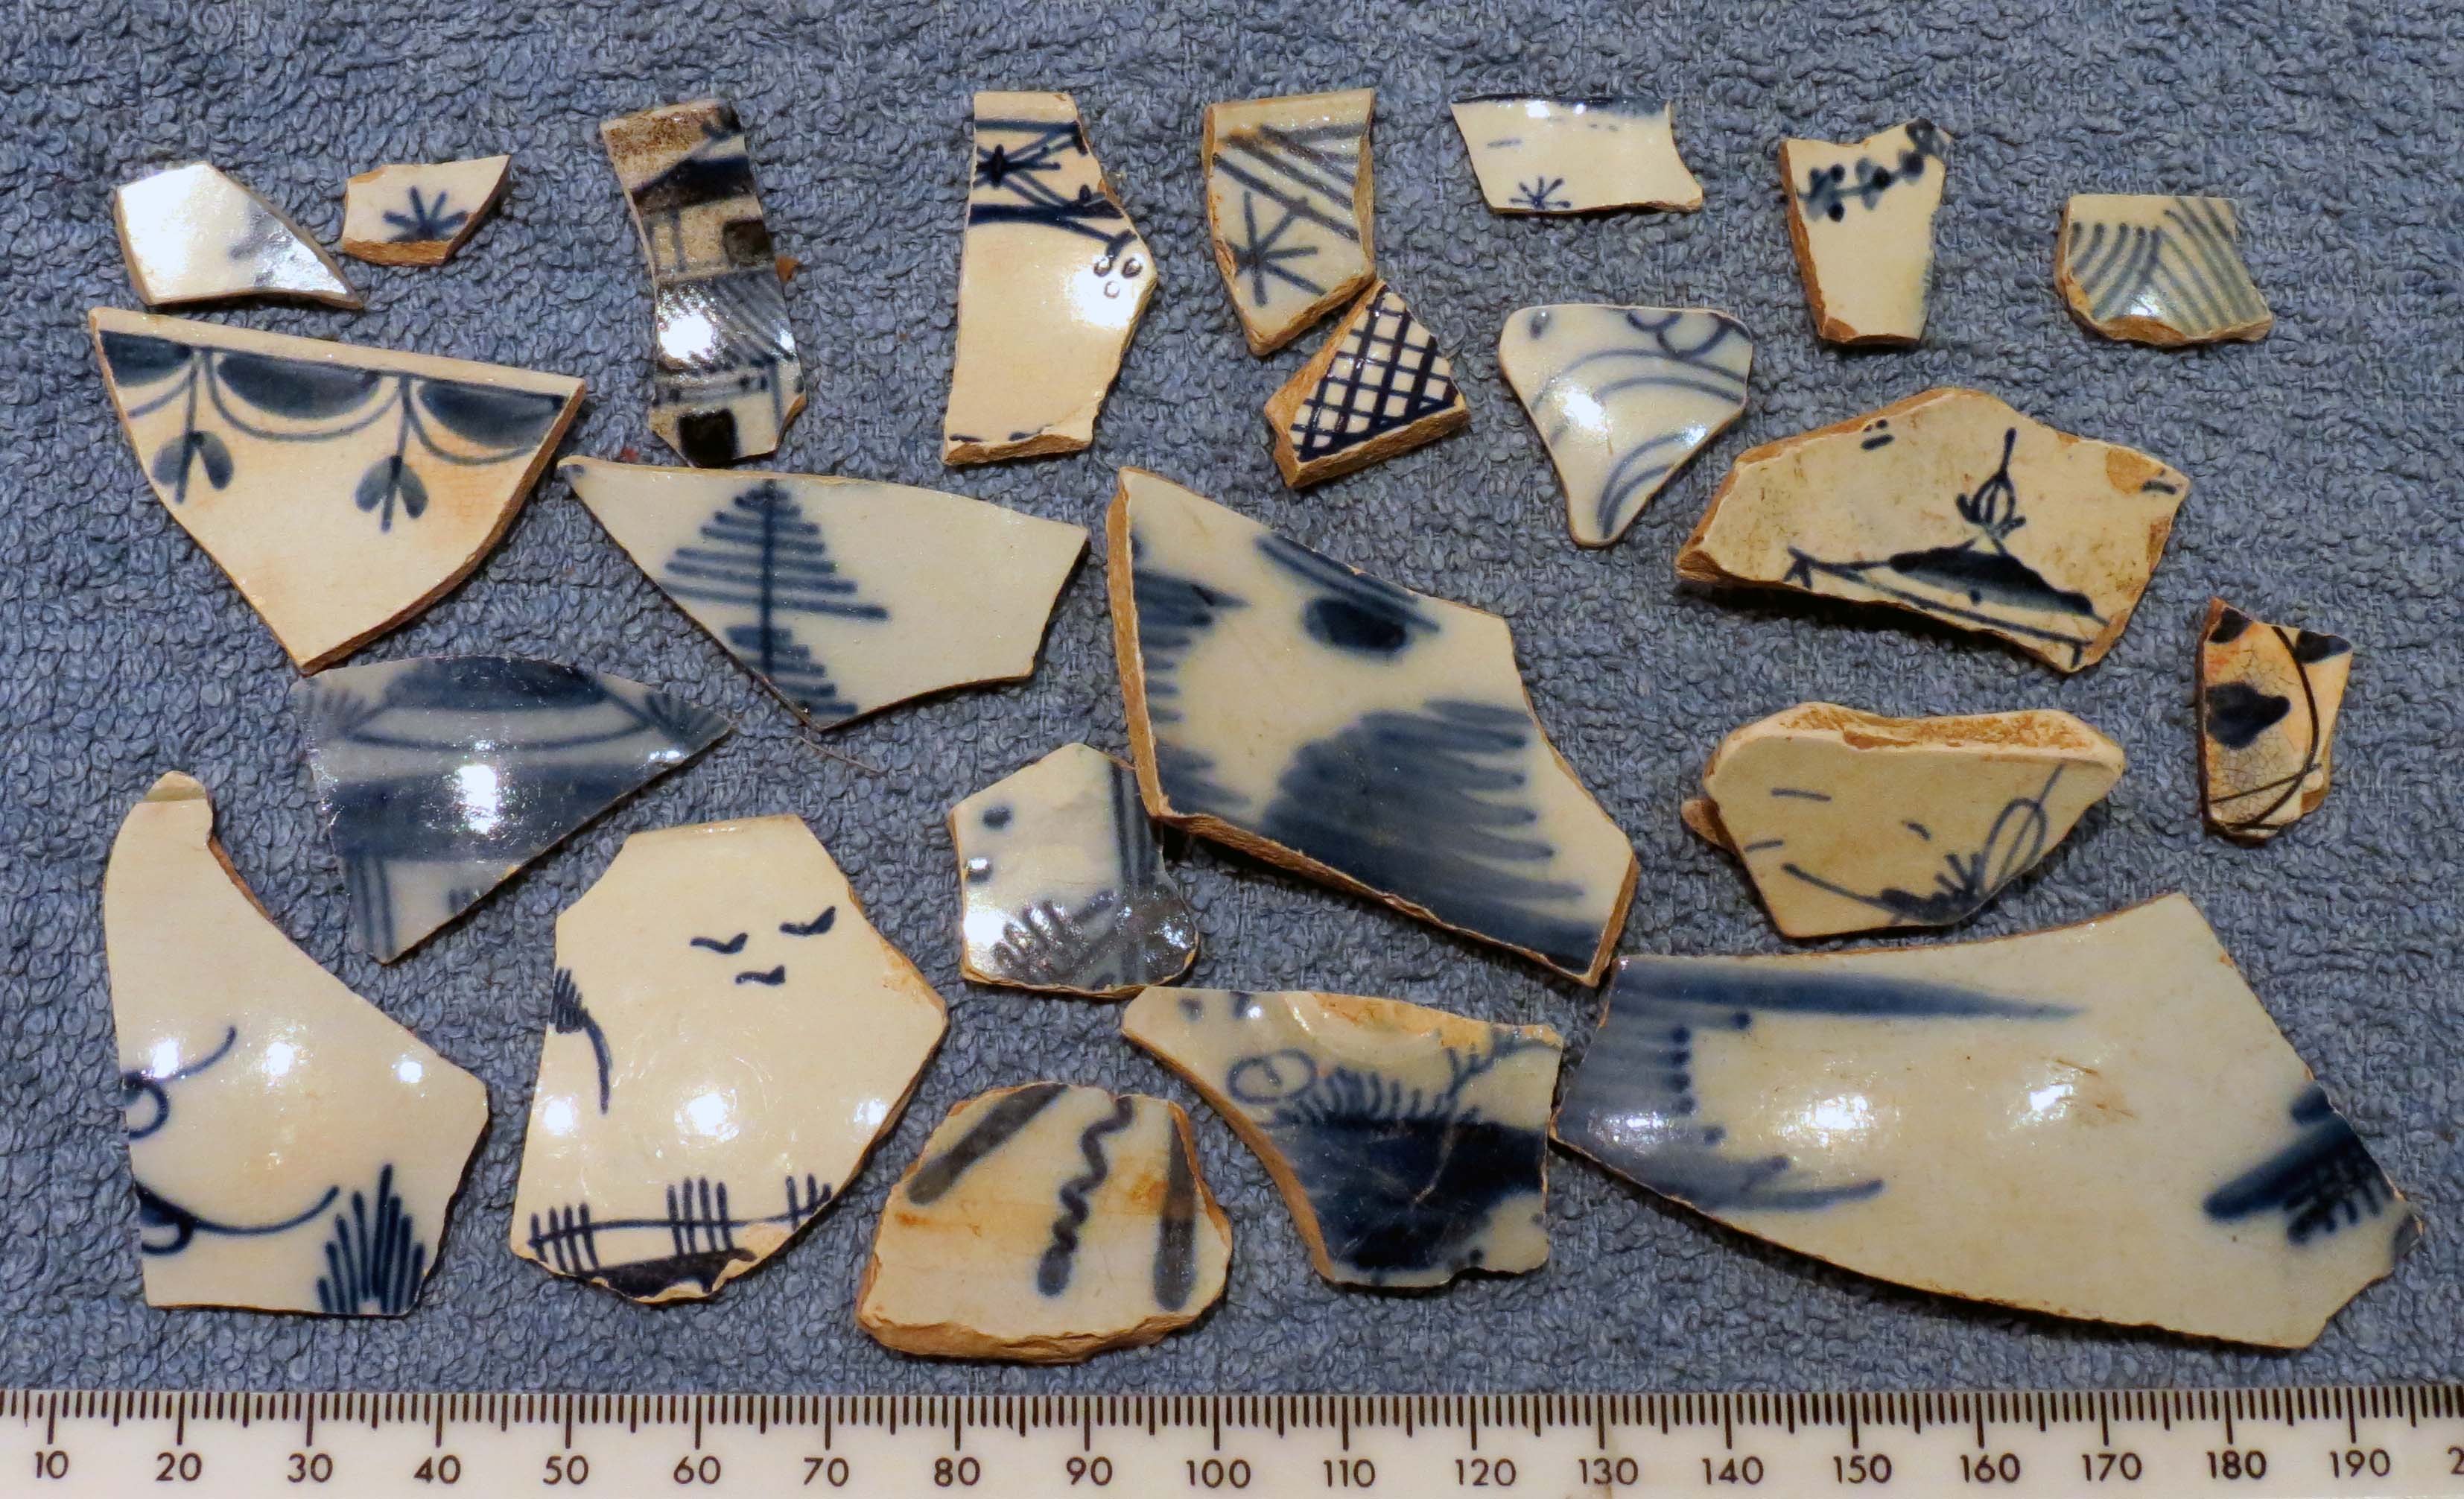
Some is hand painted in blue:
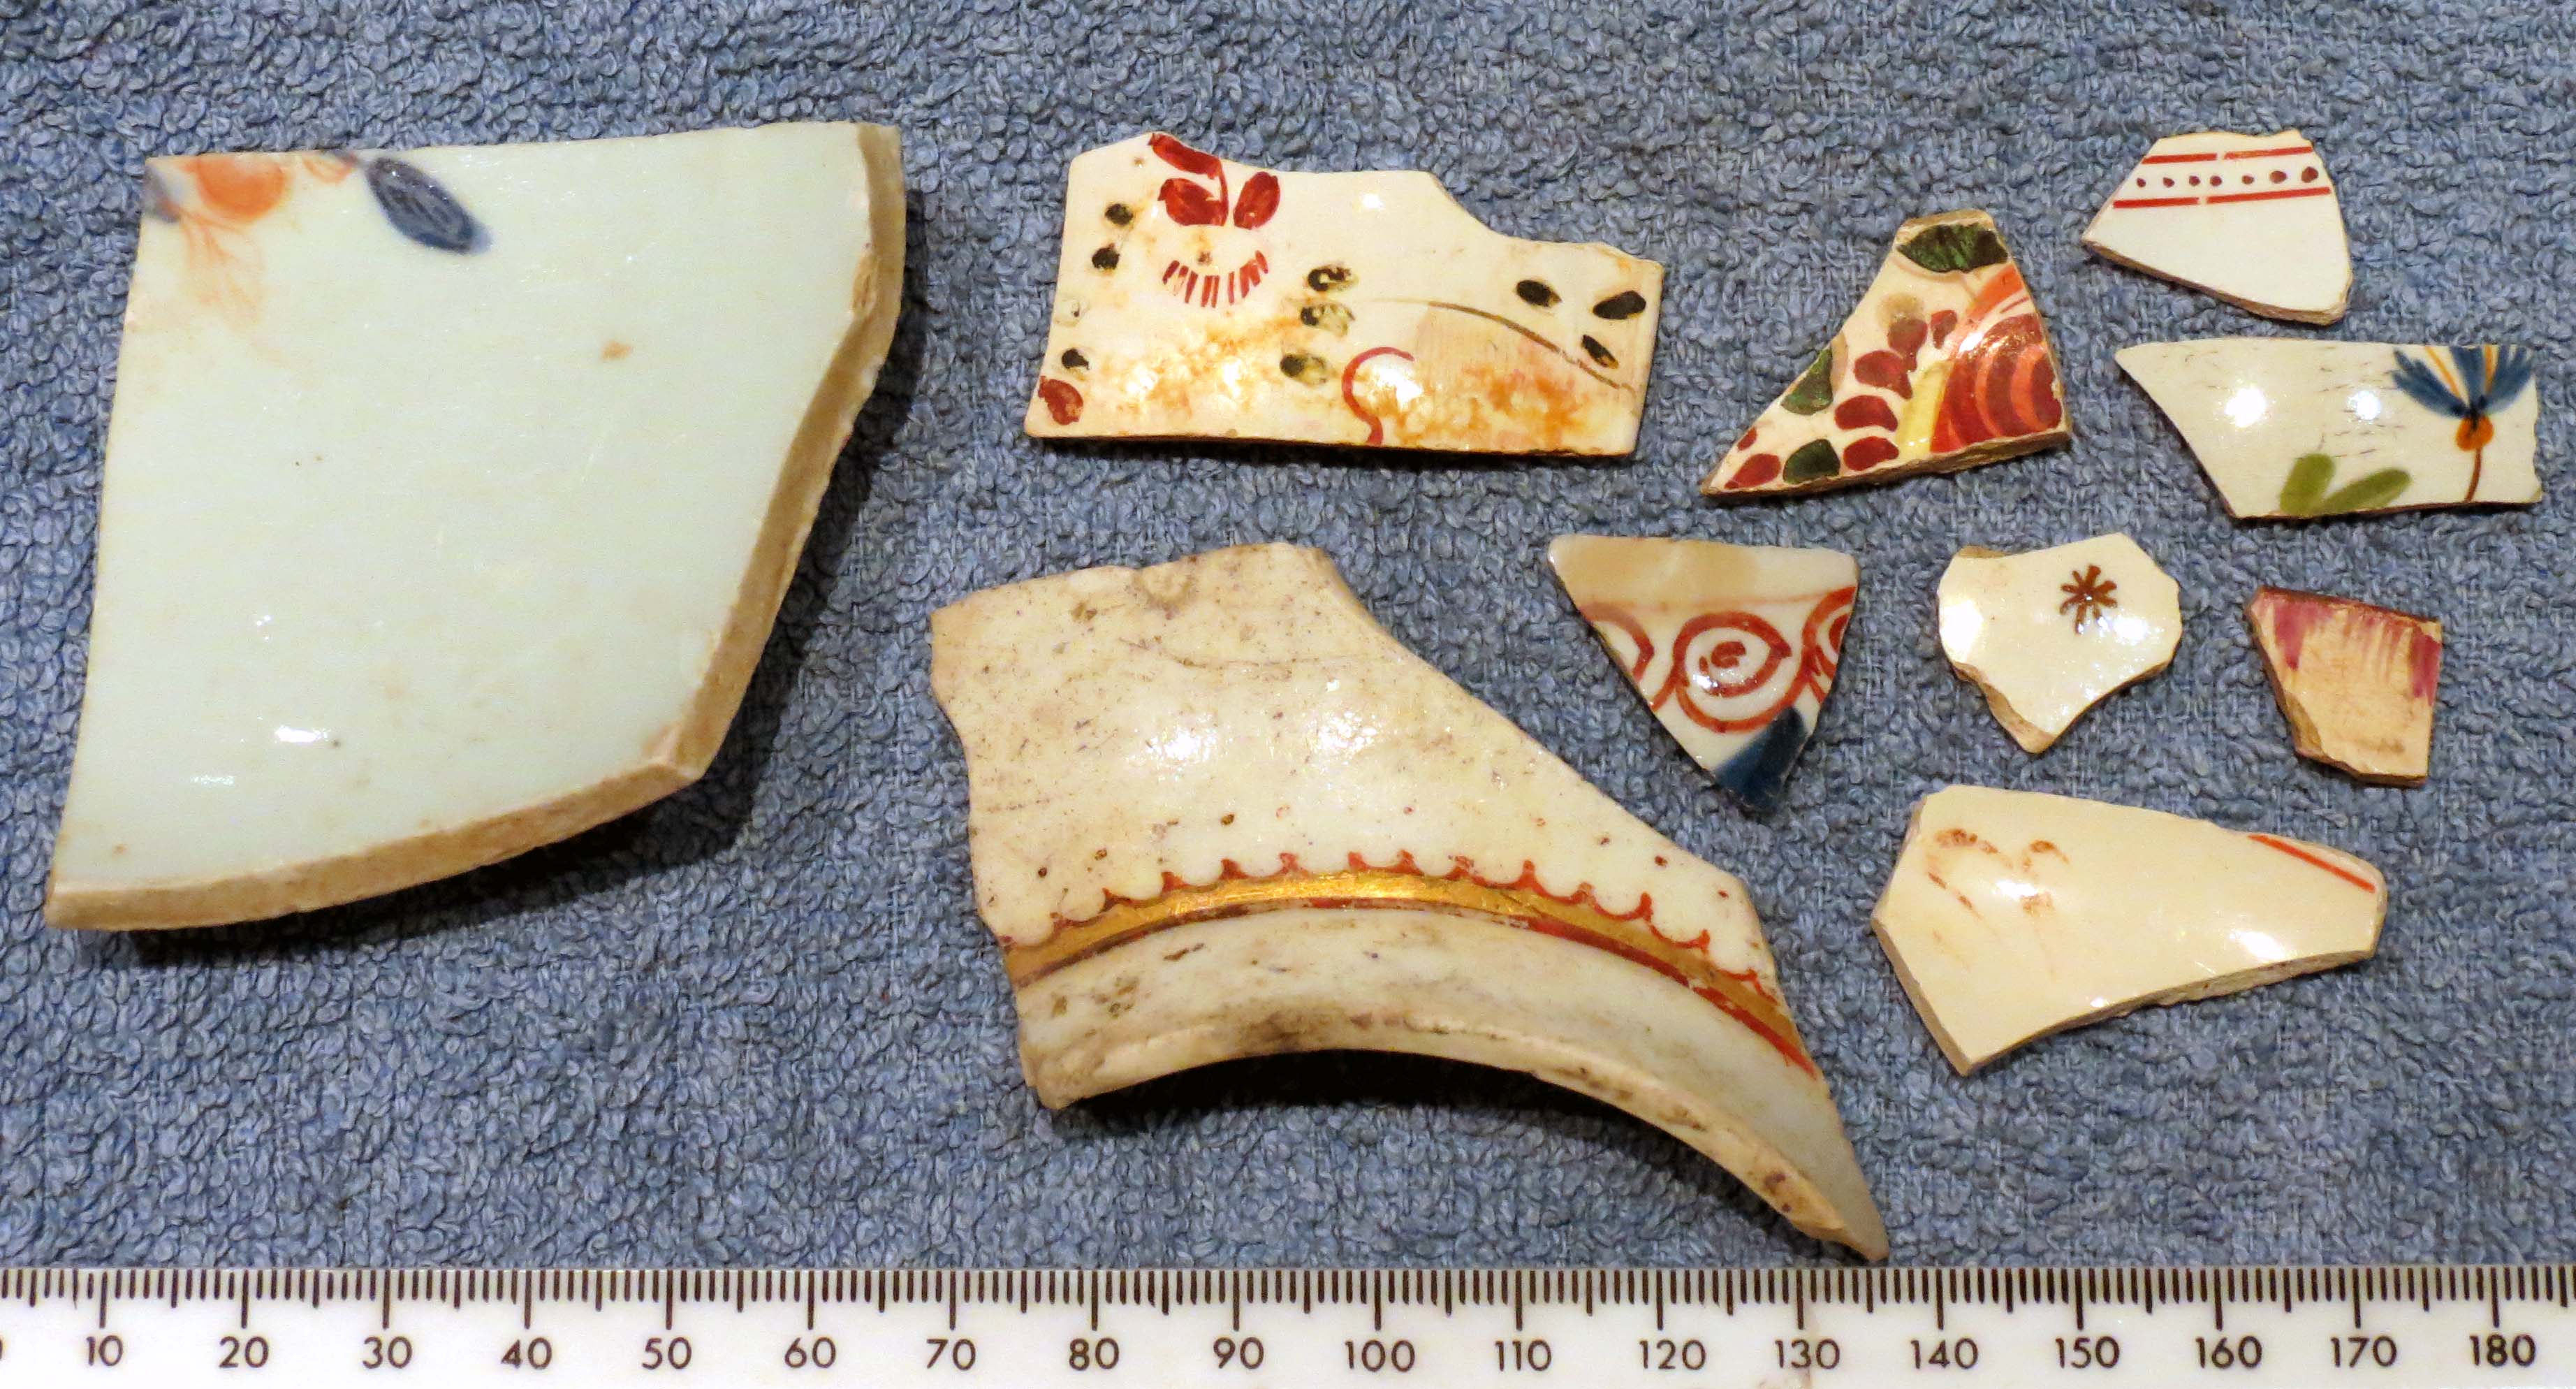
or other colors:
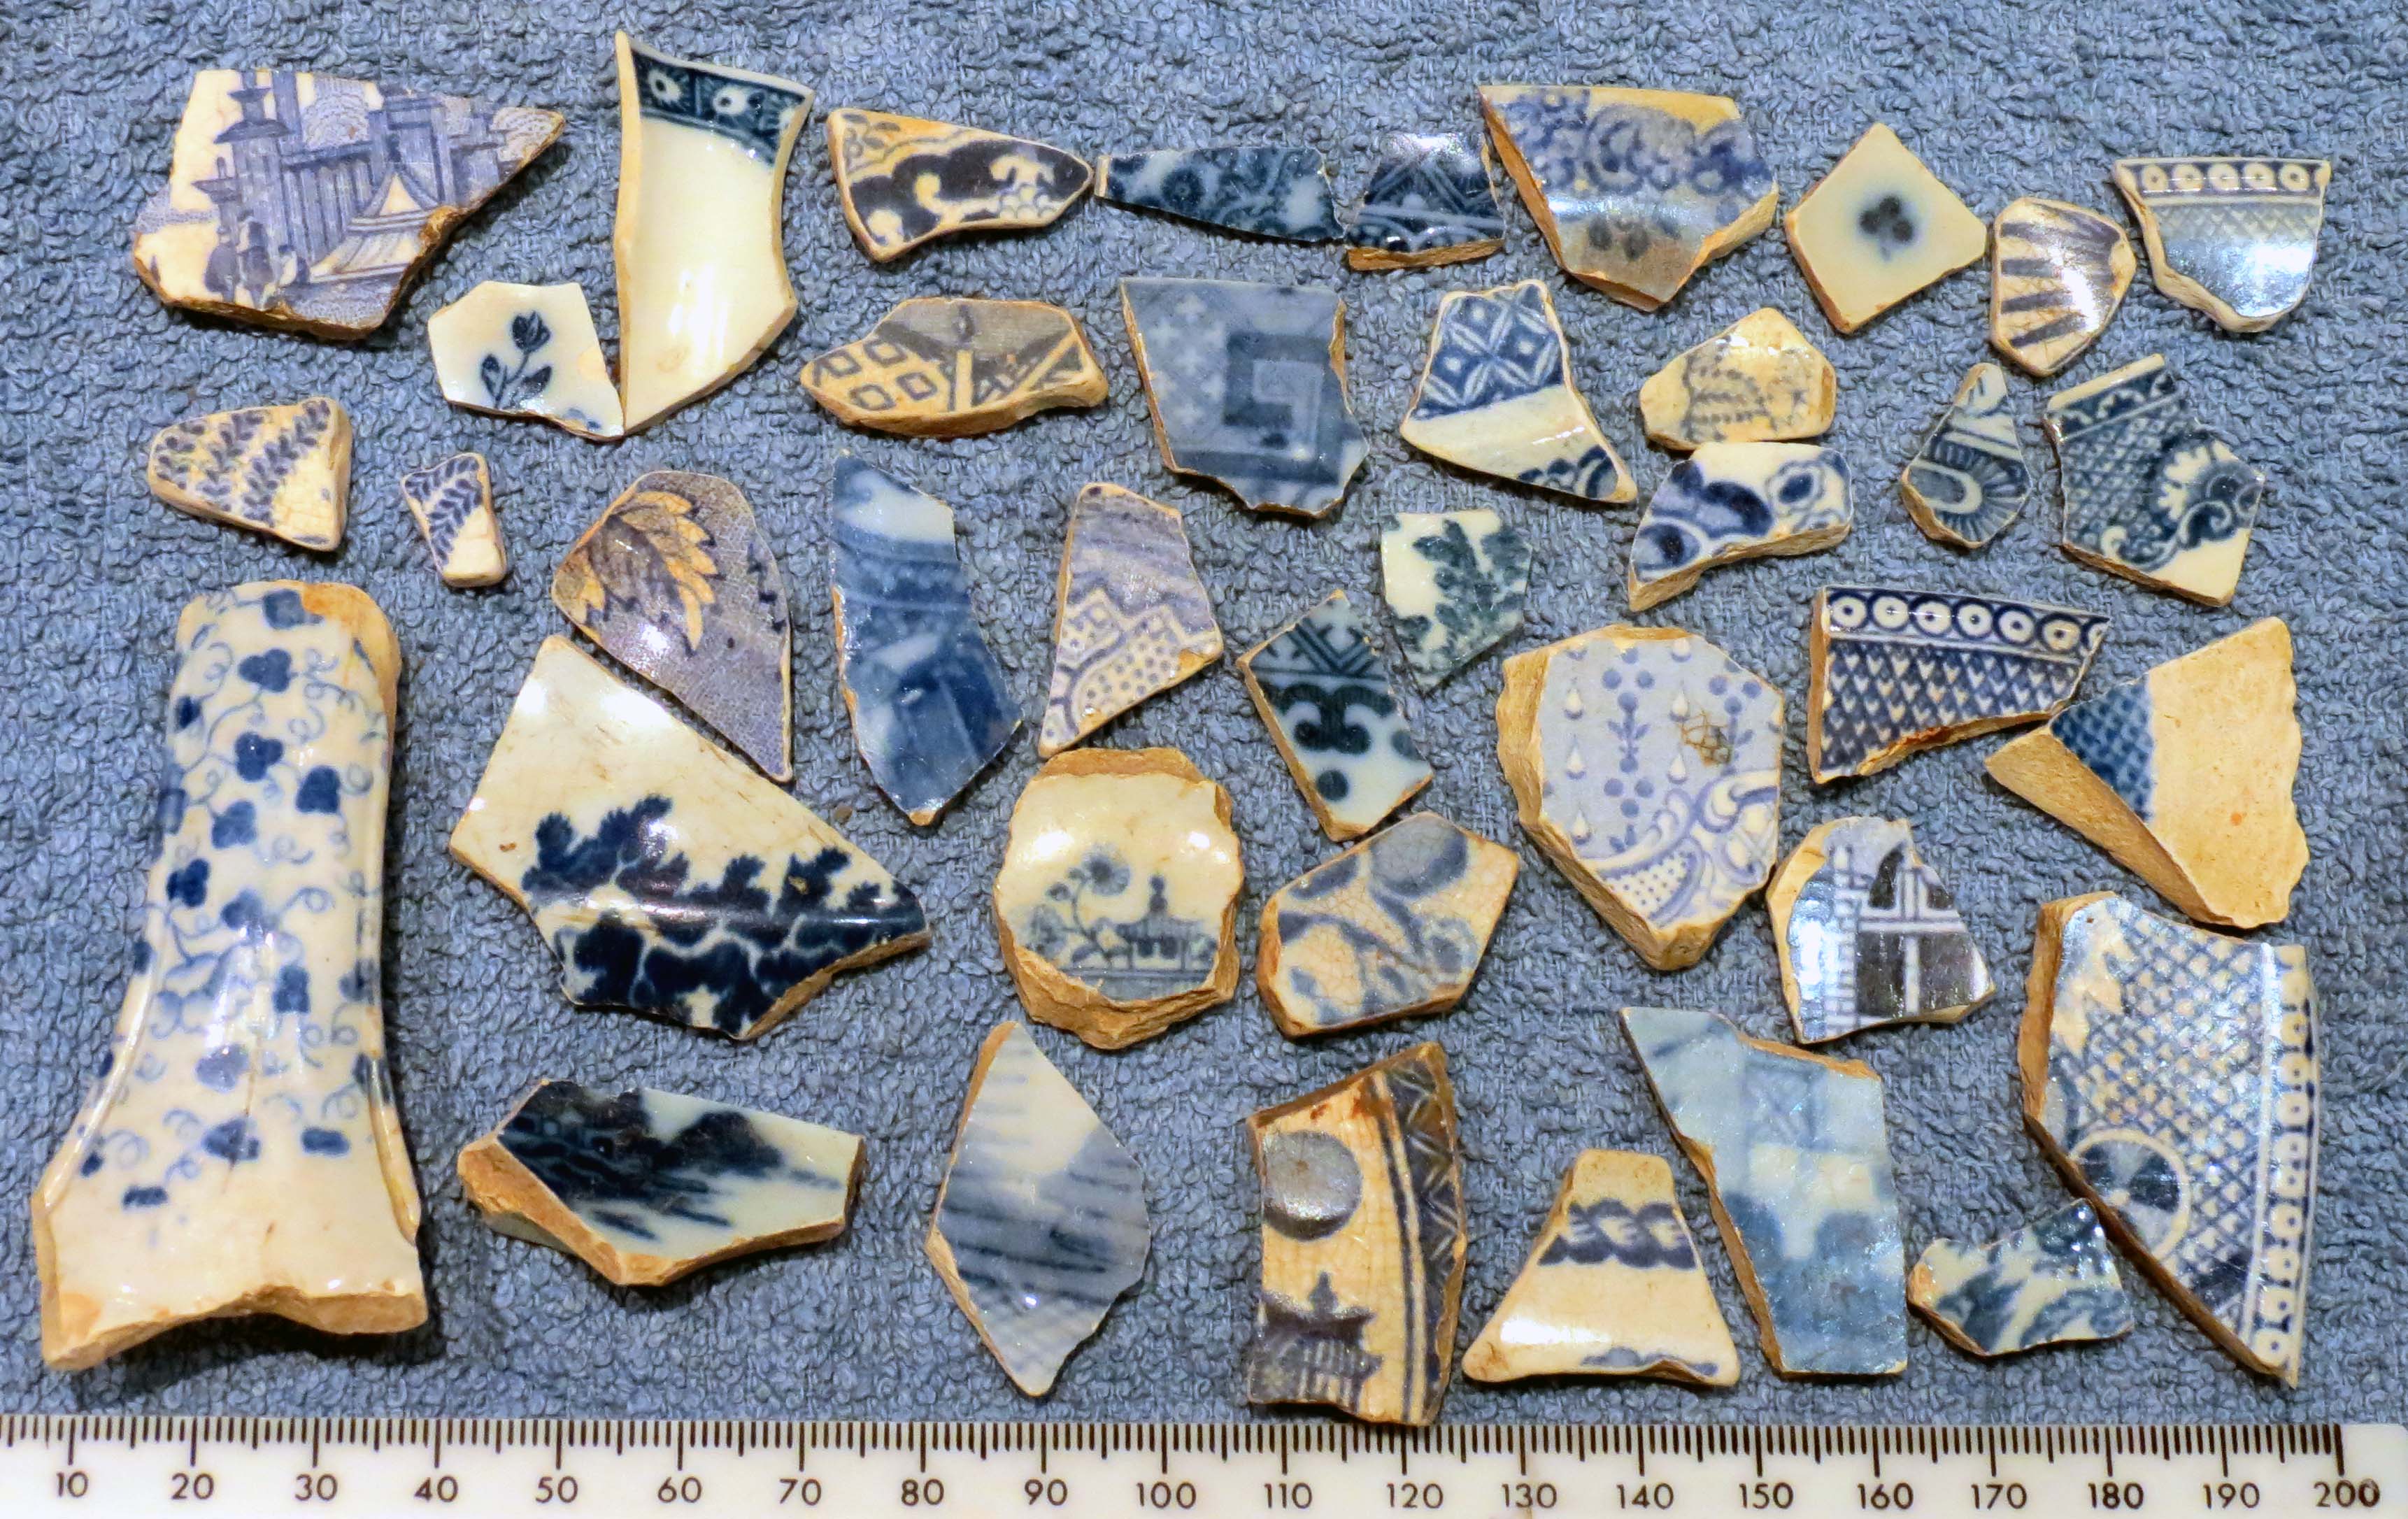
Some is transferware (the top left has three tiny people on it):
Some is stoneware with blue accents…hmmm…except for the top right and top left, which might be different.

A few are unique, like the eagle-like cup handle (?) and next to it the tile with the fleur-de-lis. Some are enigmas, like the ridged one in the middle with black squiggles. And the four with blue paint might be delftware…if I’m identifying it correctly.

There are lots of bits with green glaze, and some of them are likely Tudor or Medieval:
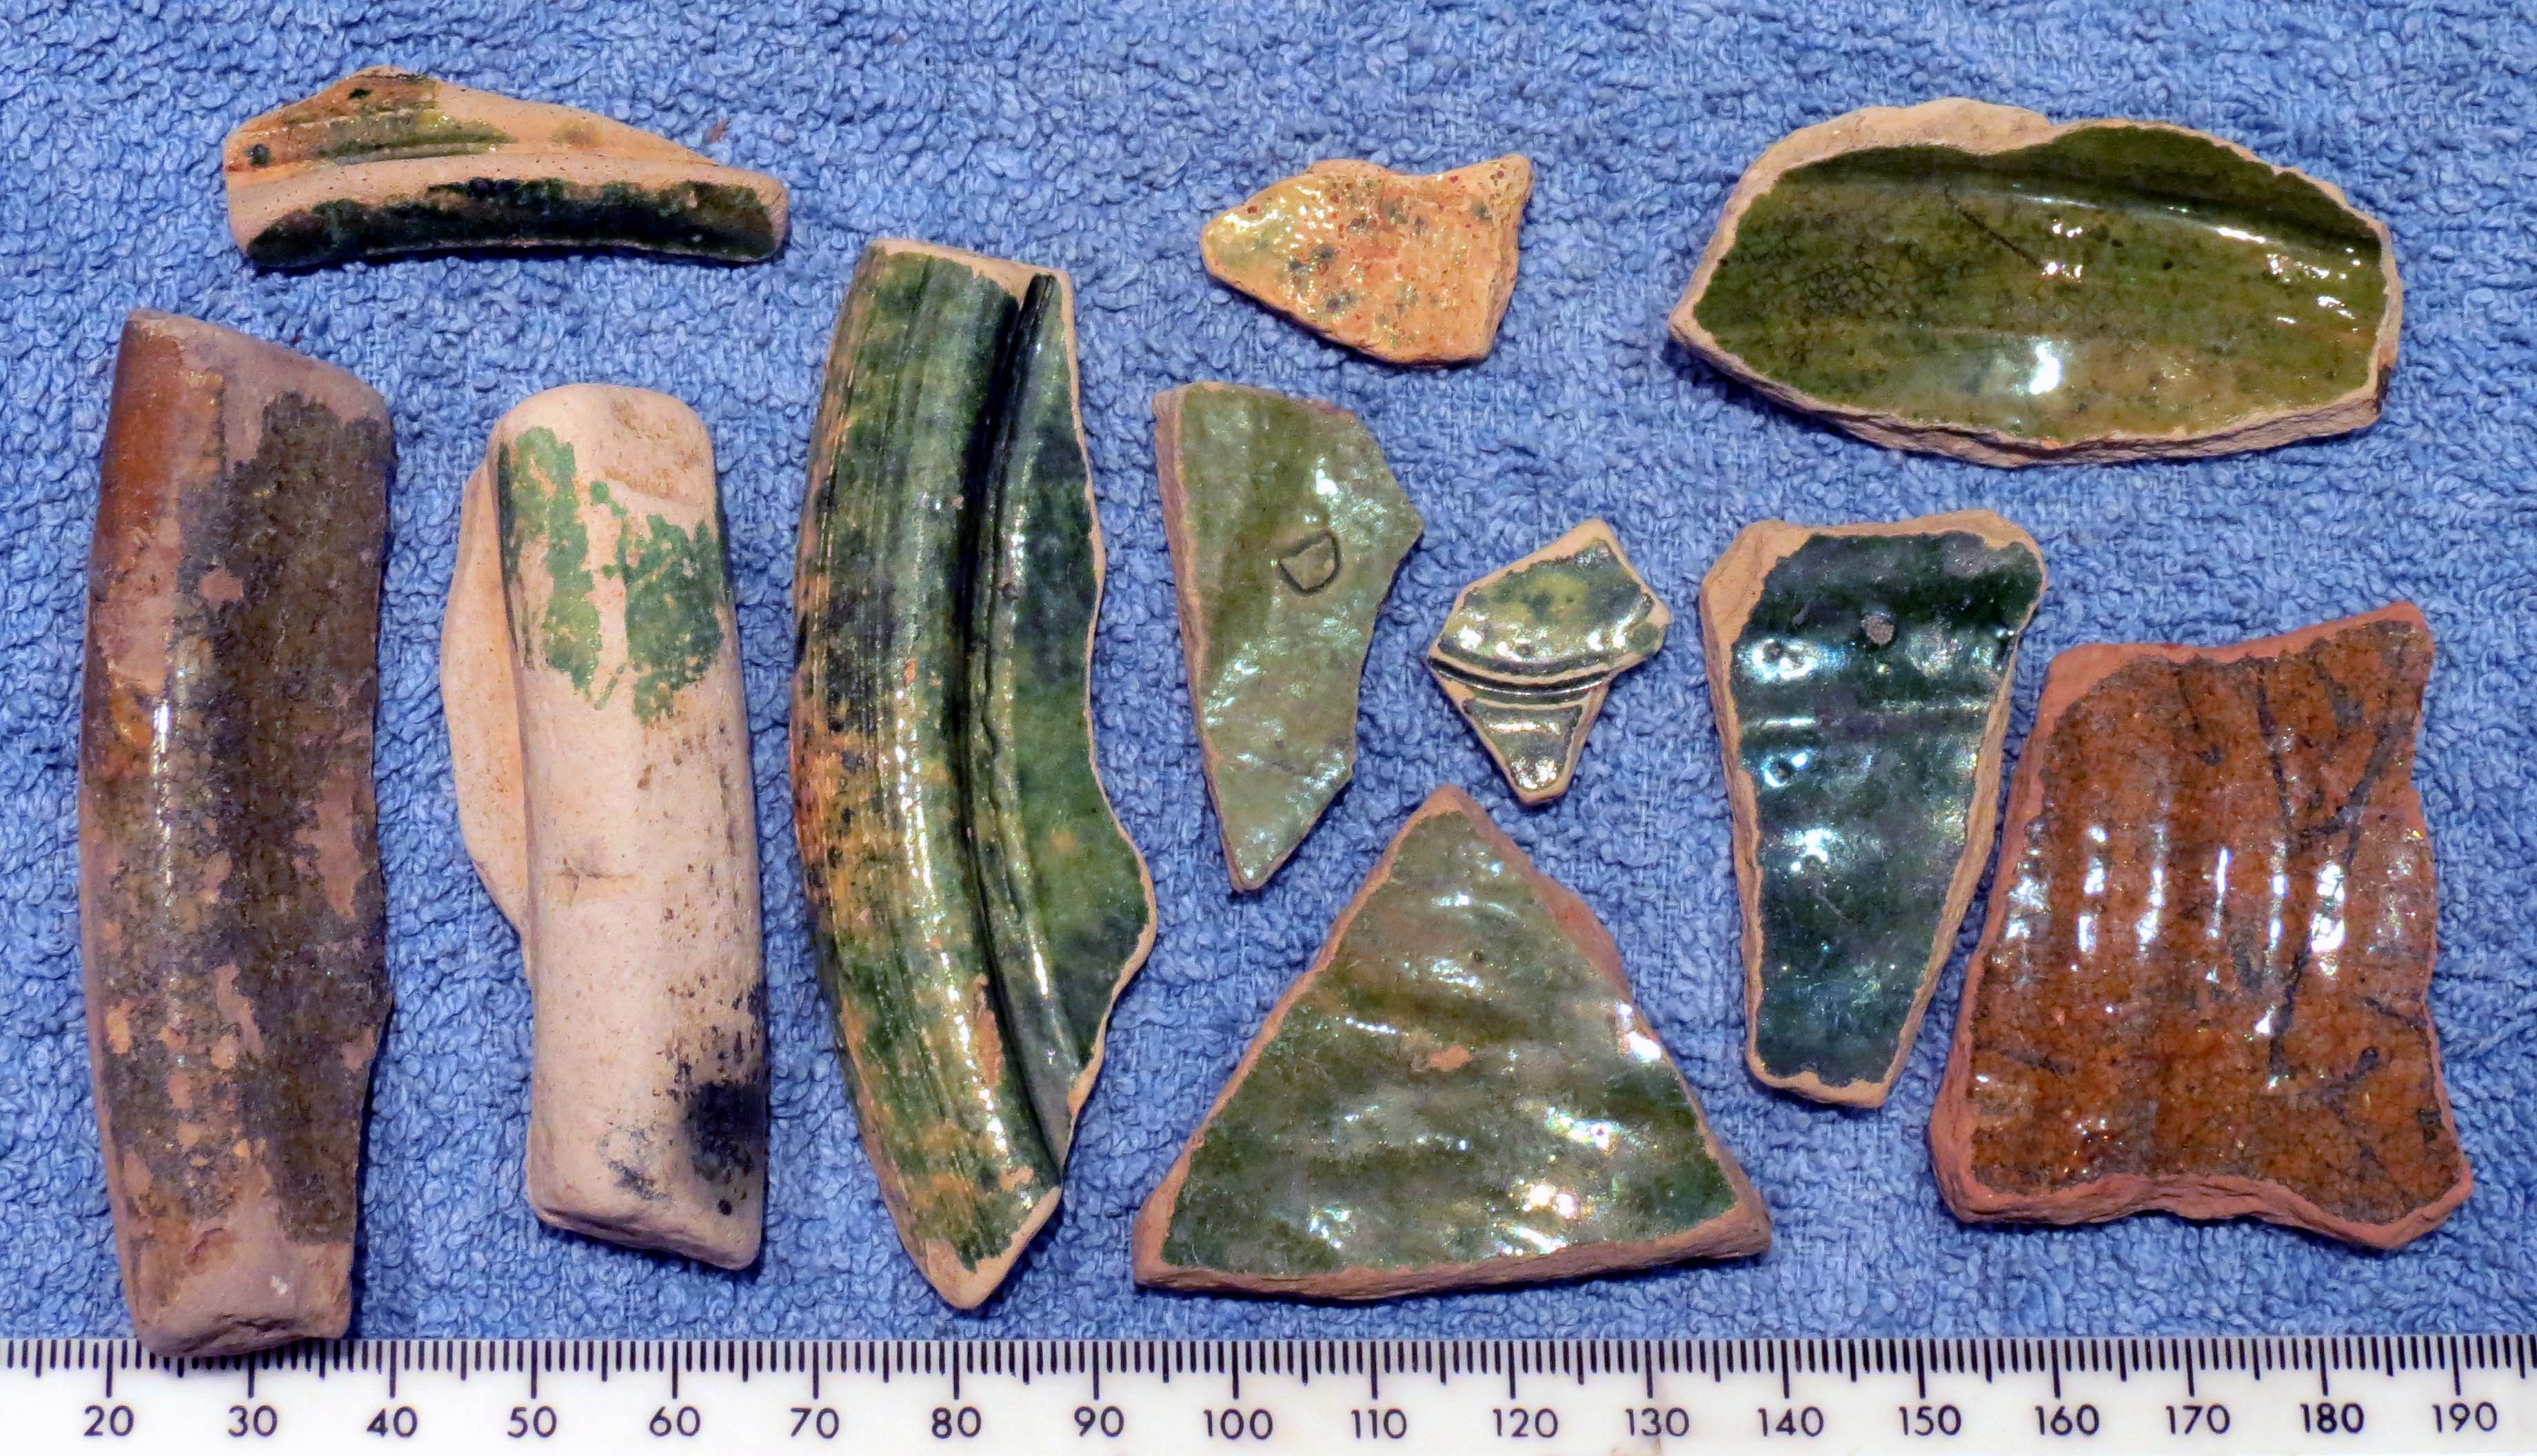
Some are way too big, and I probably should have left them on the shore, but then I thought I might have a pottery-making friend who’d like to see them. The one on the right might be a stove tile – it has glaze on one edge as well as the top surface.

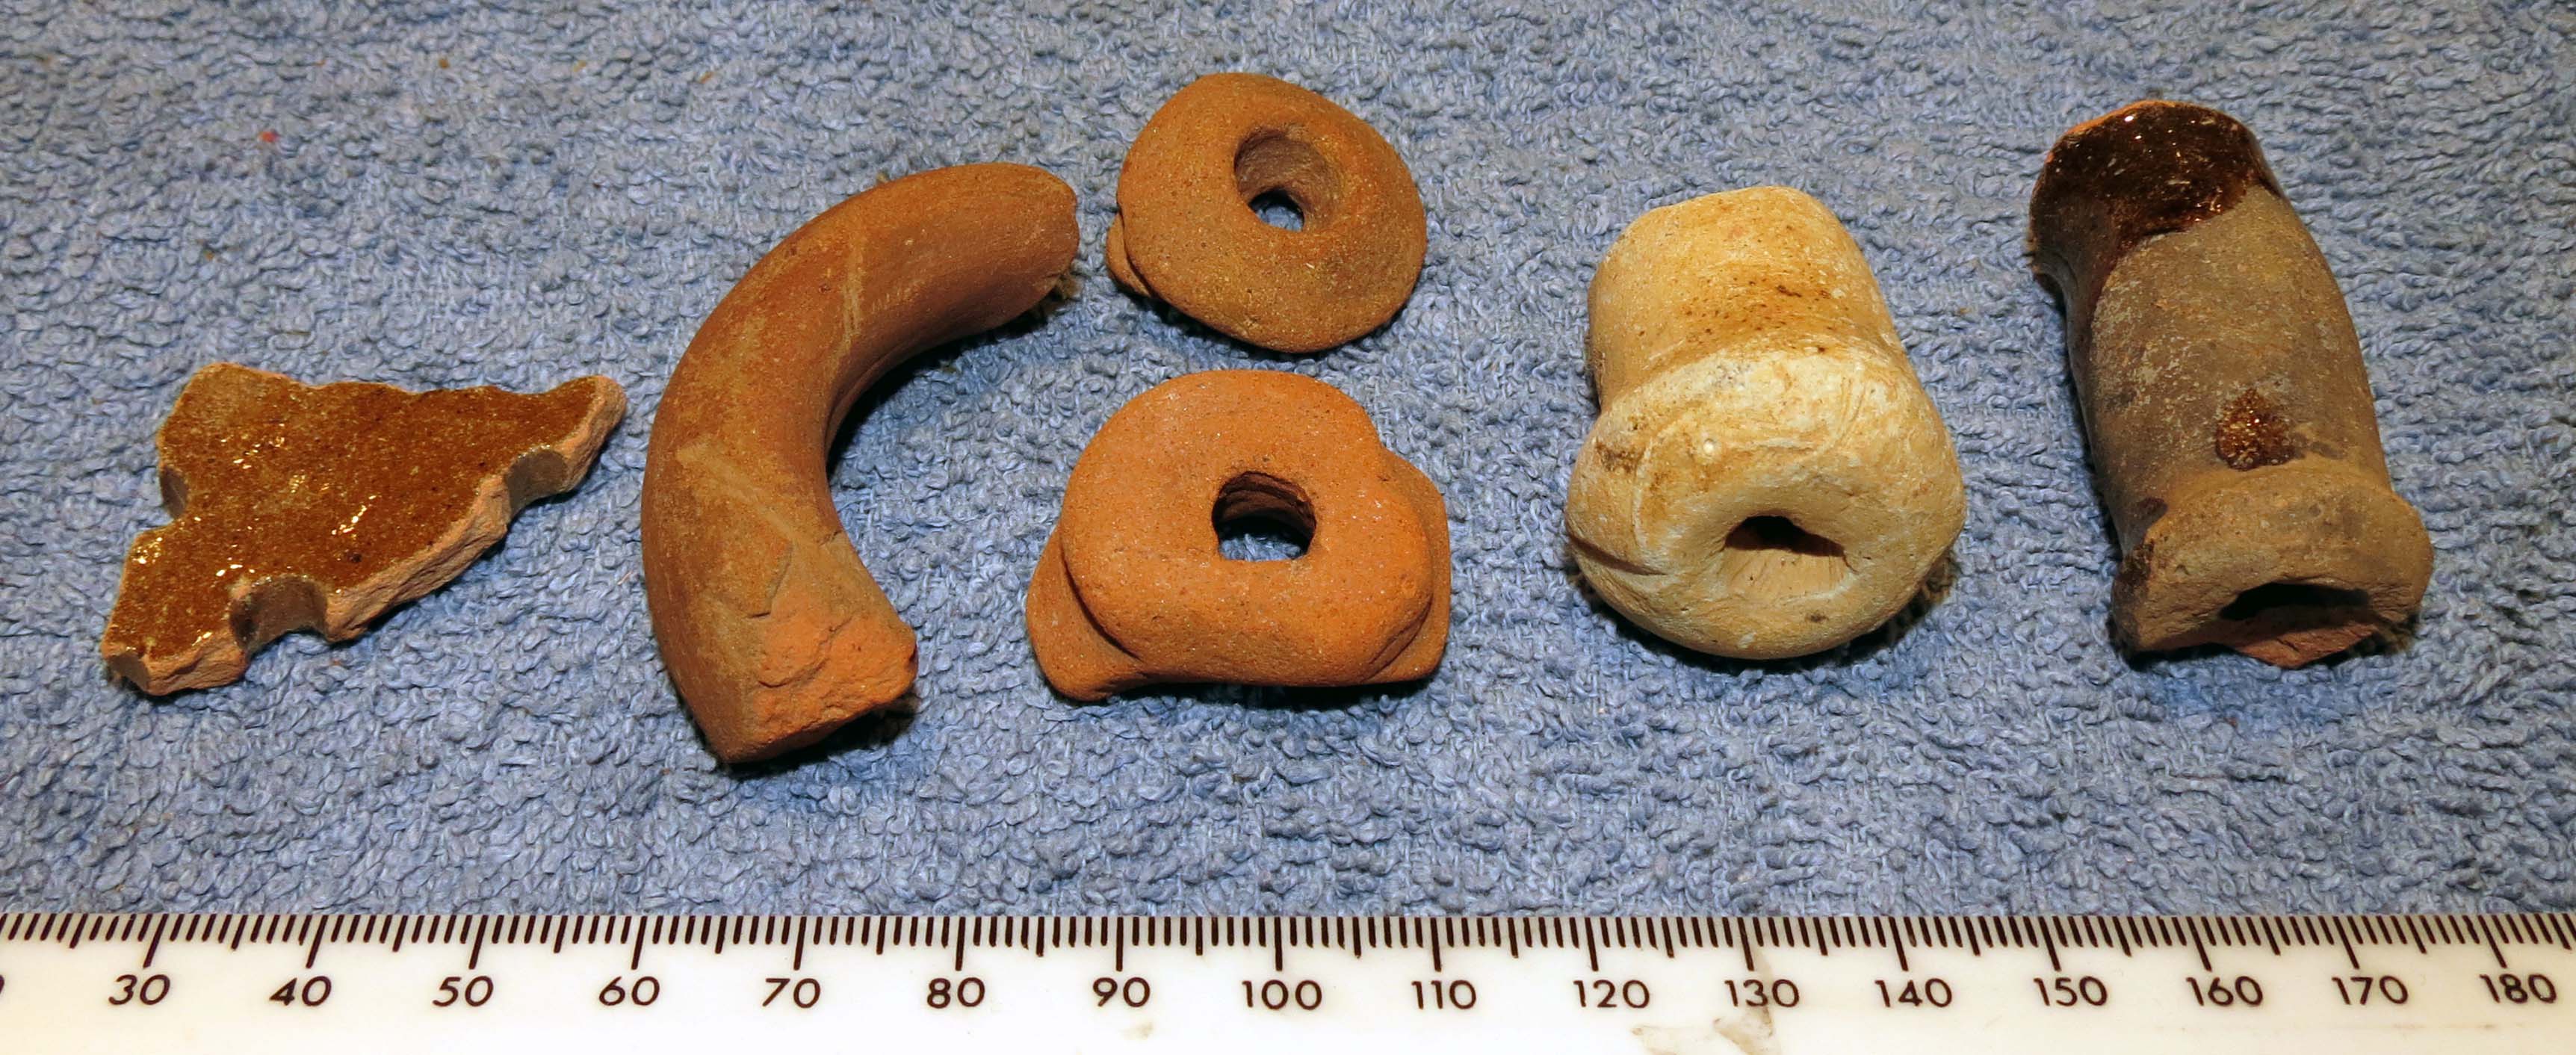
Some have holes, as if they might be colanders. Or are curved like handles. Or have holes because they came from, well, what? The last two are likely pipkin handles.
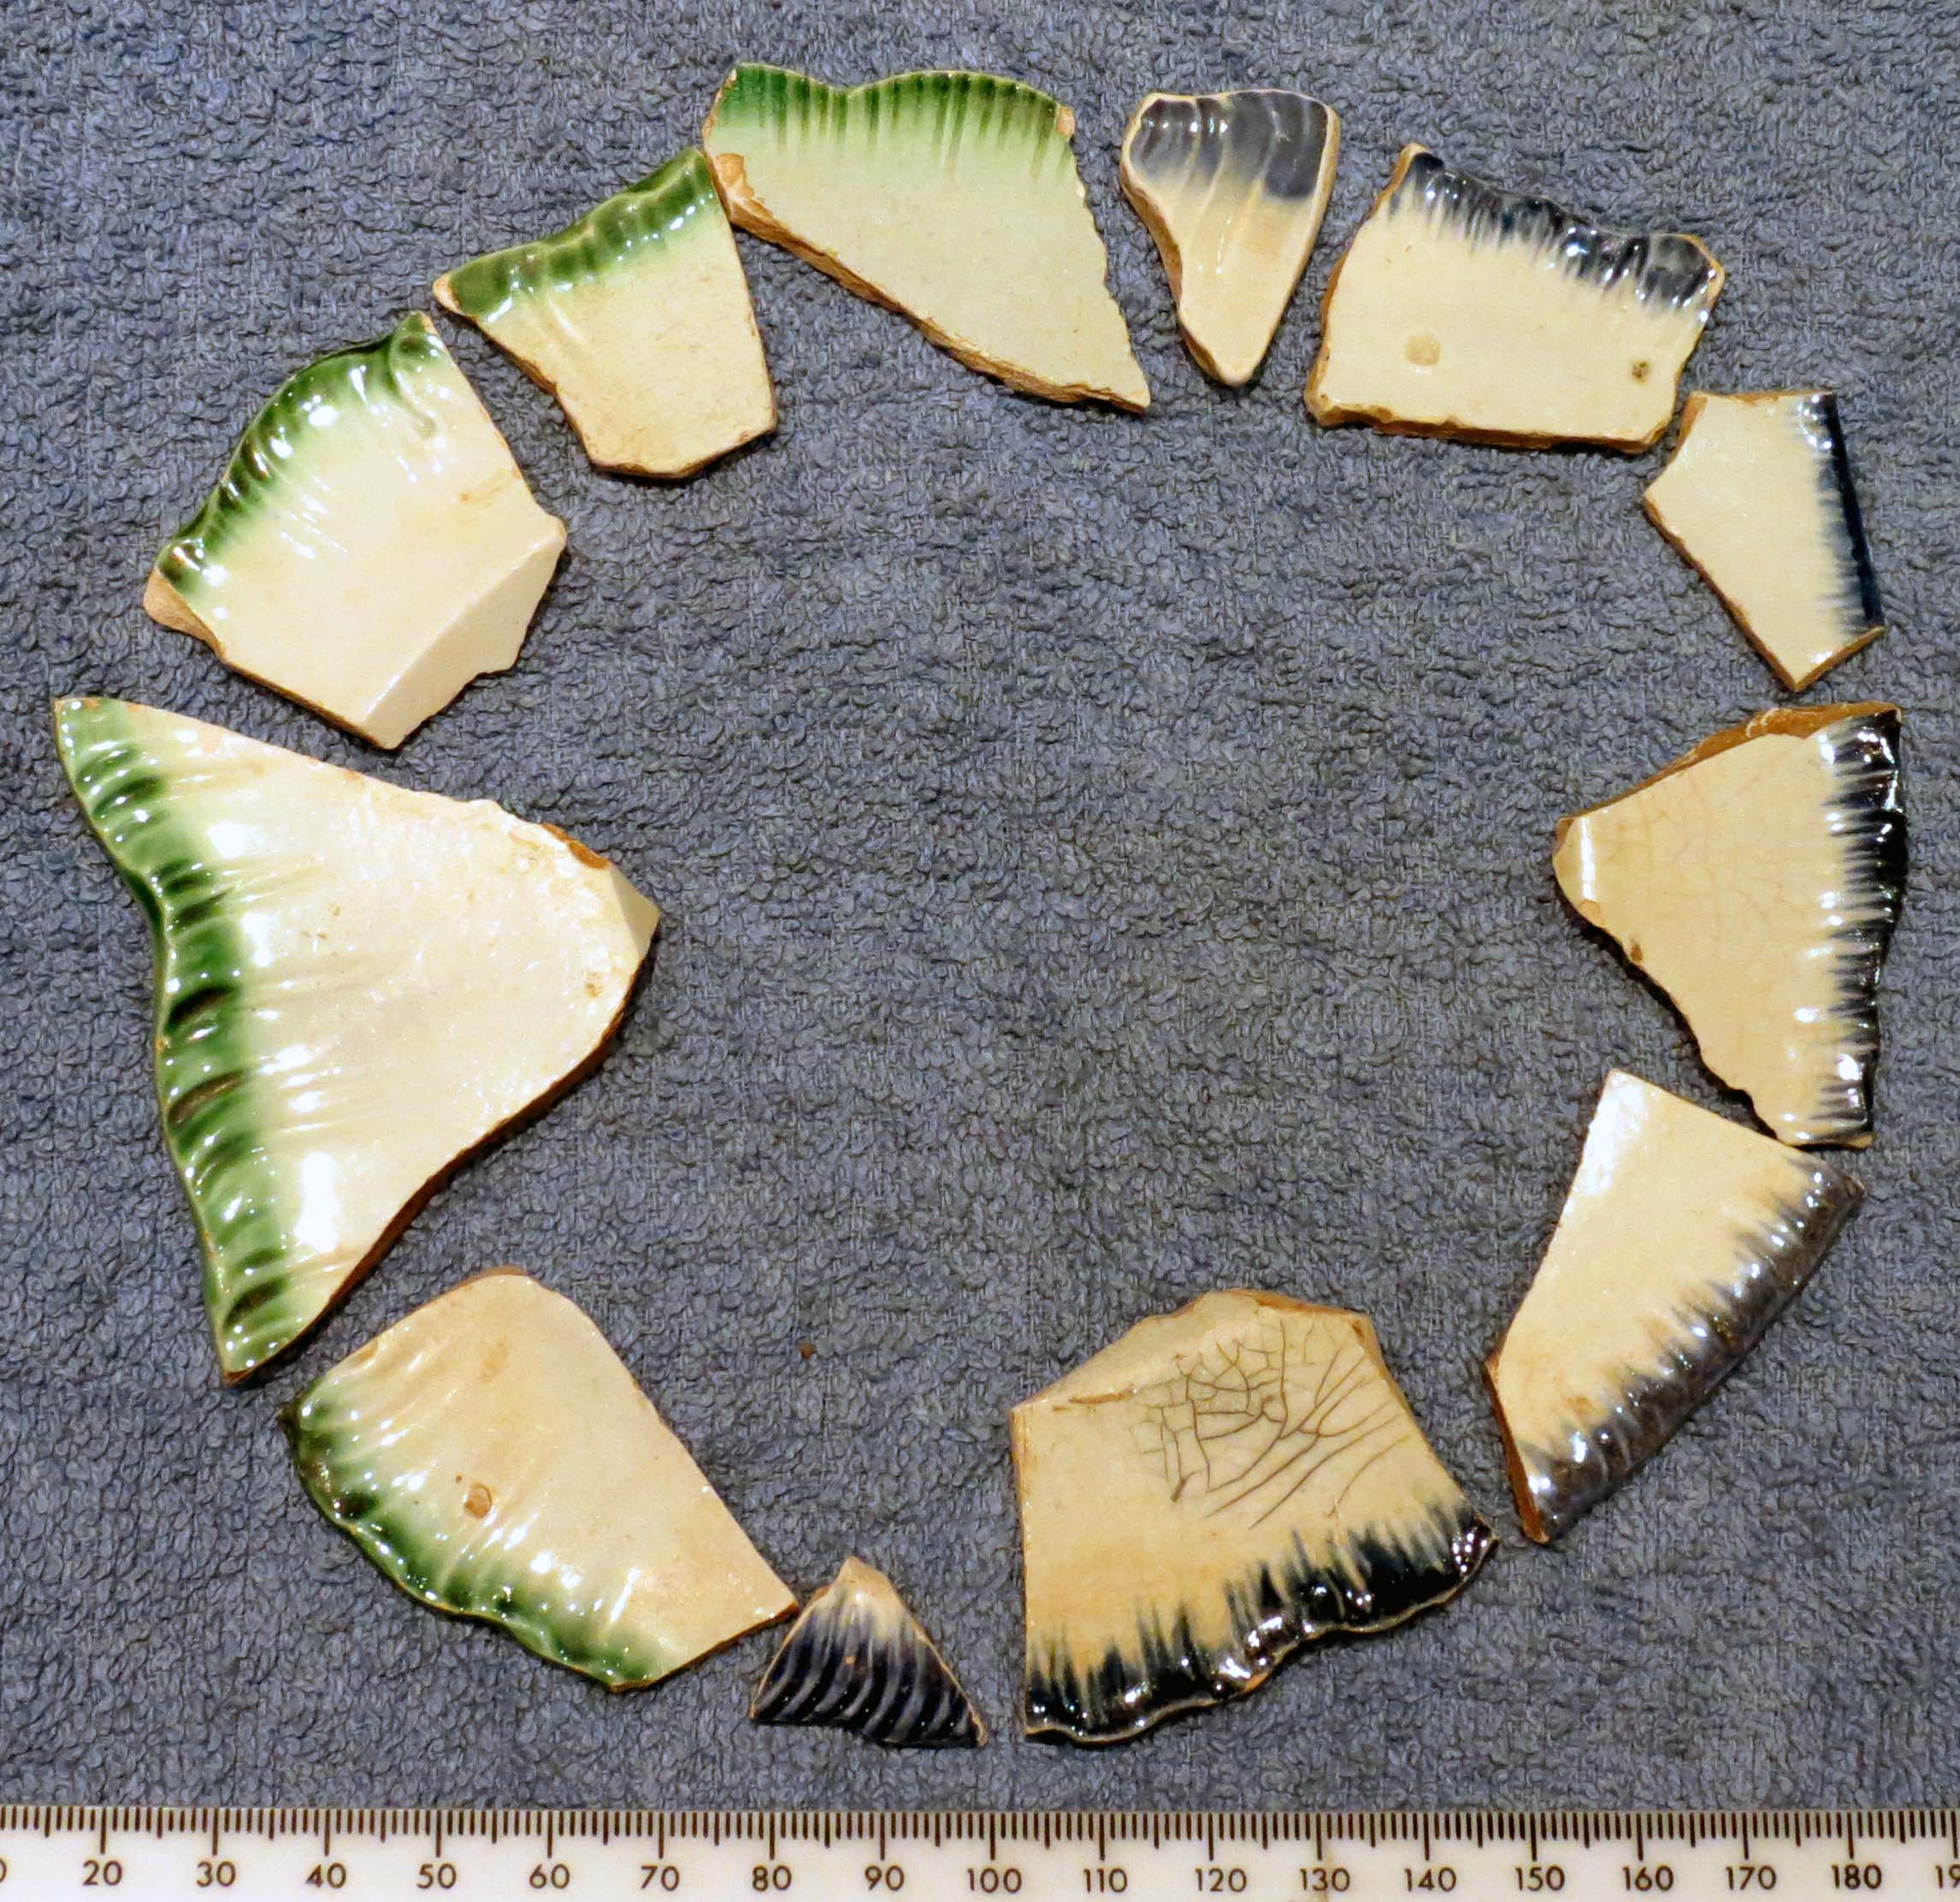
Blue and green shell-edged pearlware is so common that at first I thought it was something completely modern, not Victorian.
I never get tired of the patterns on combed slipware:

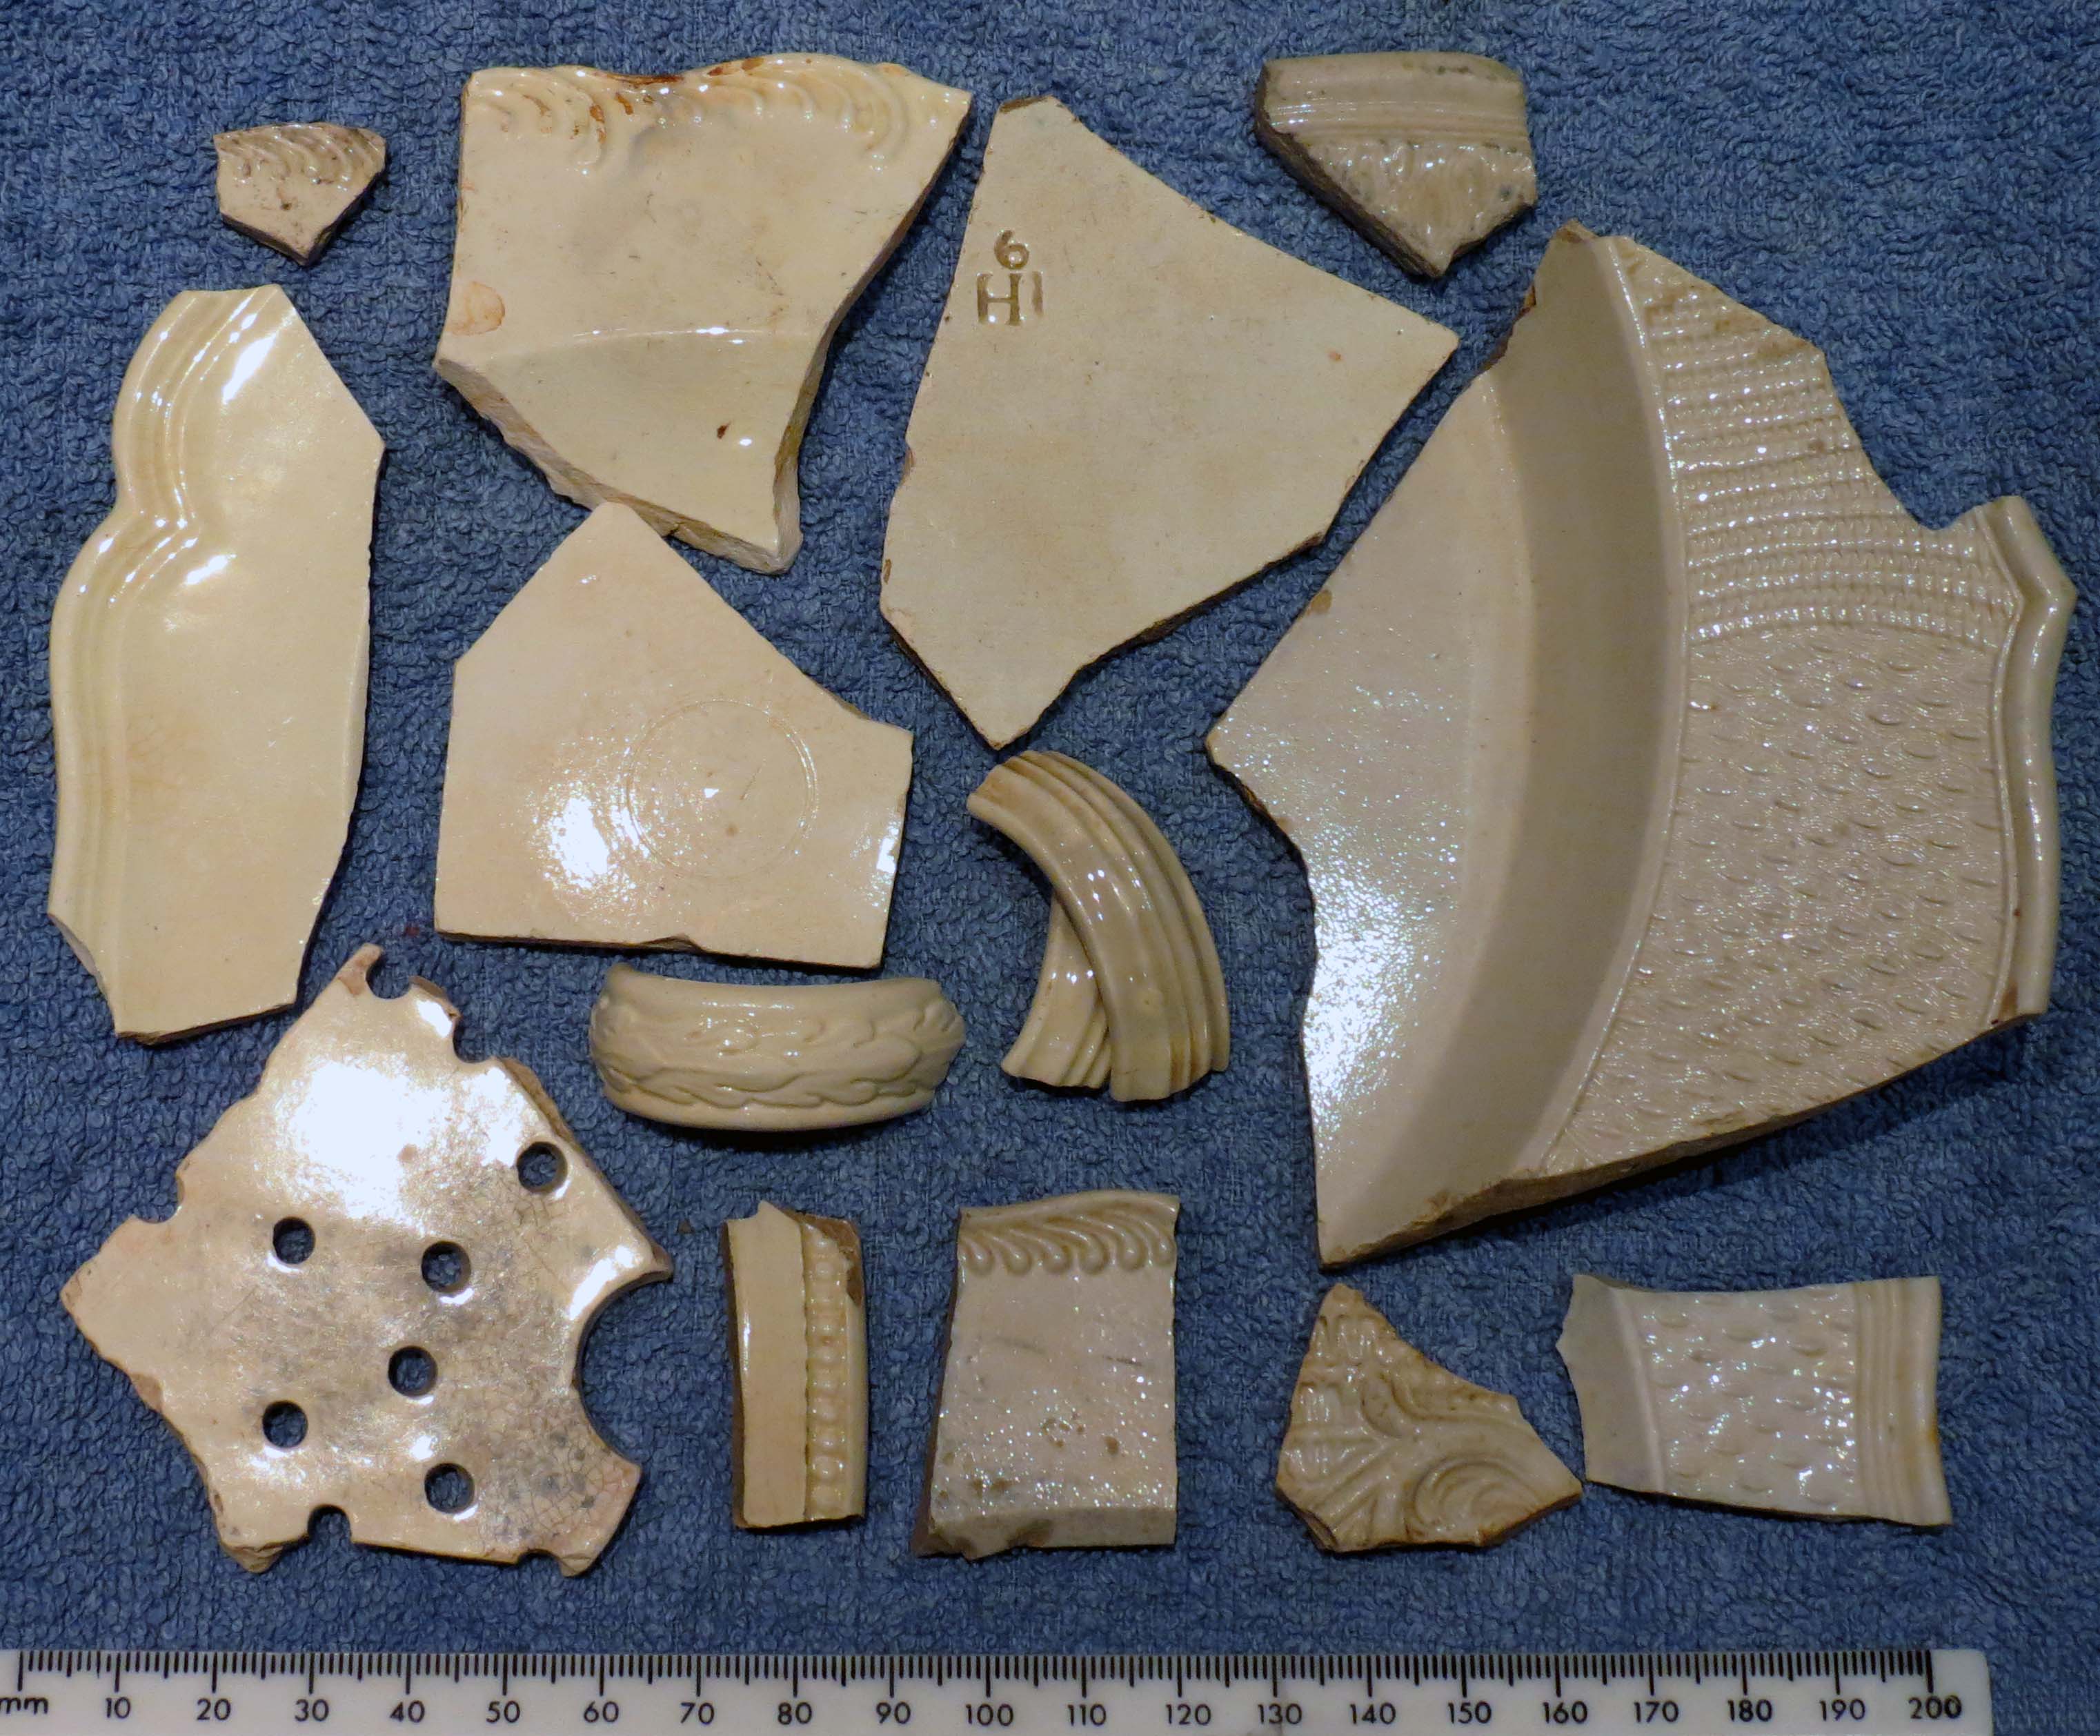
There is assorted white pottery – some salt glazed, some pearlware, some who knows what:
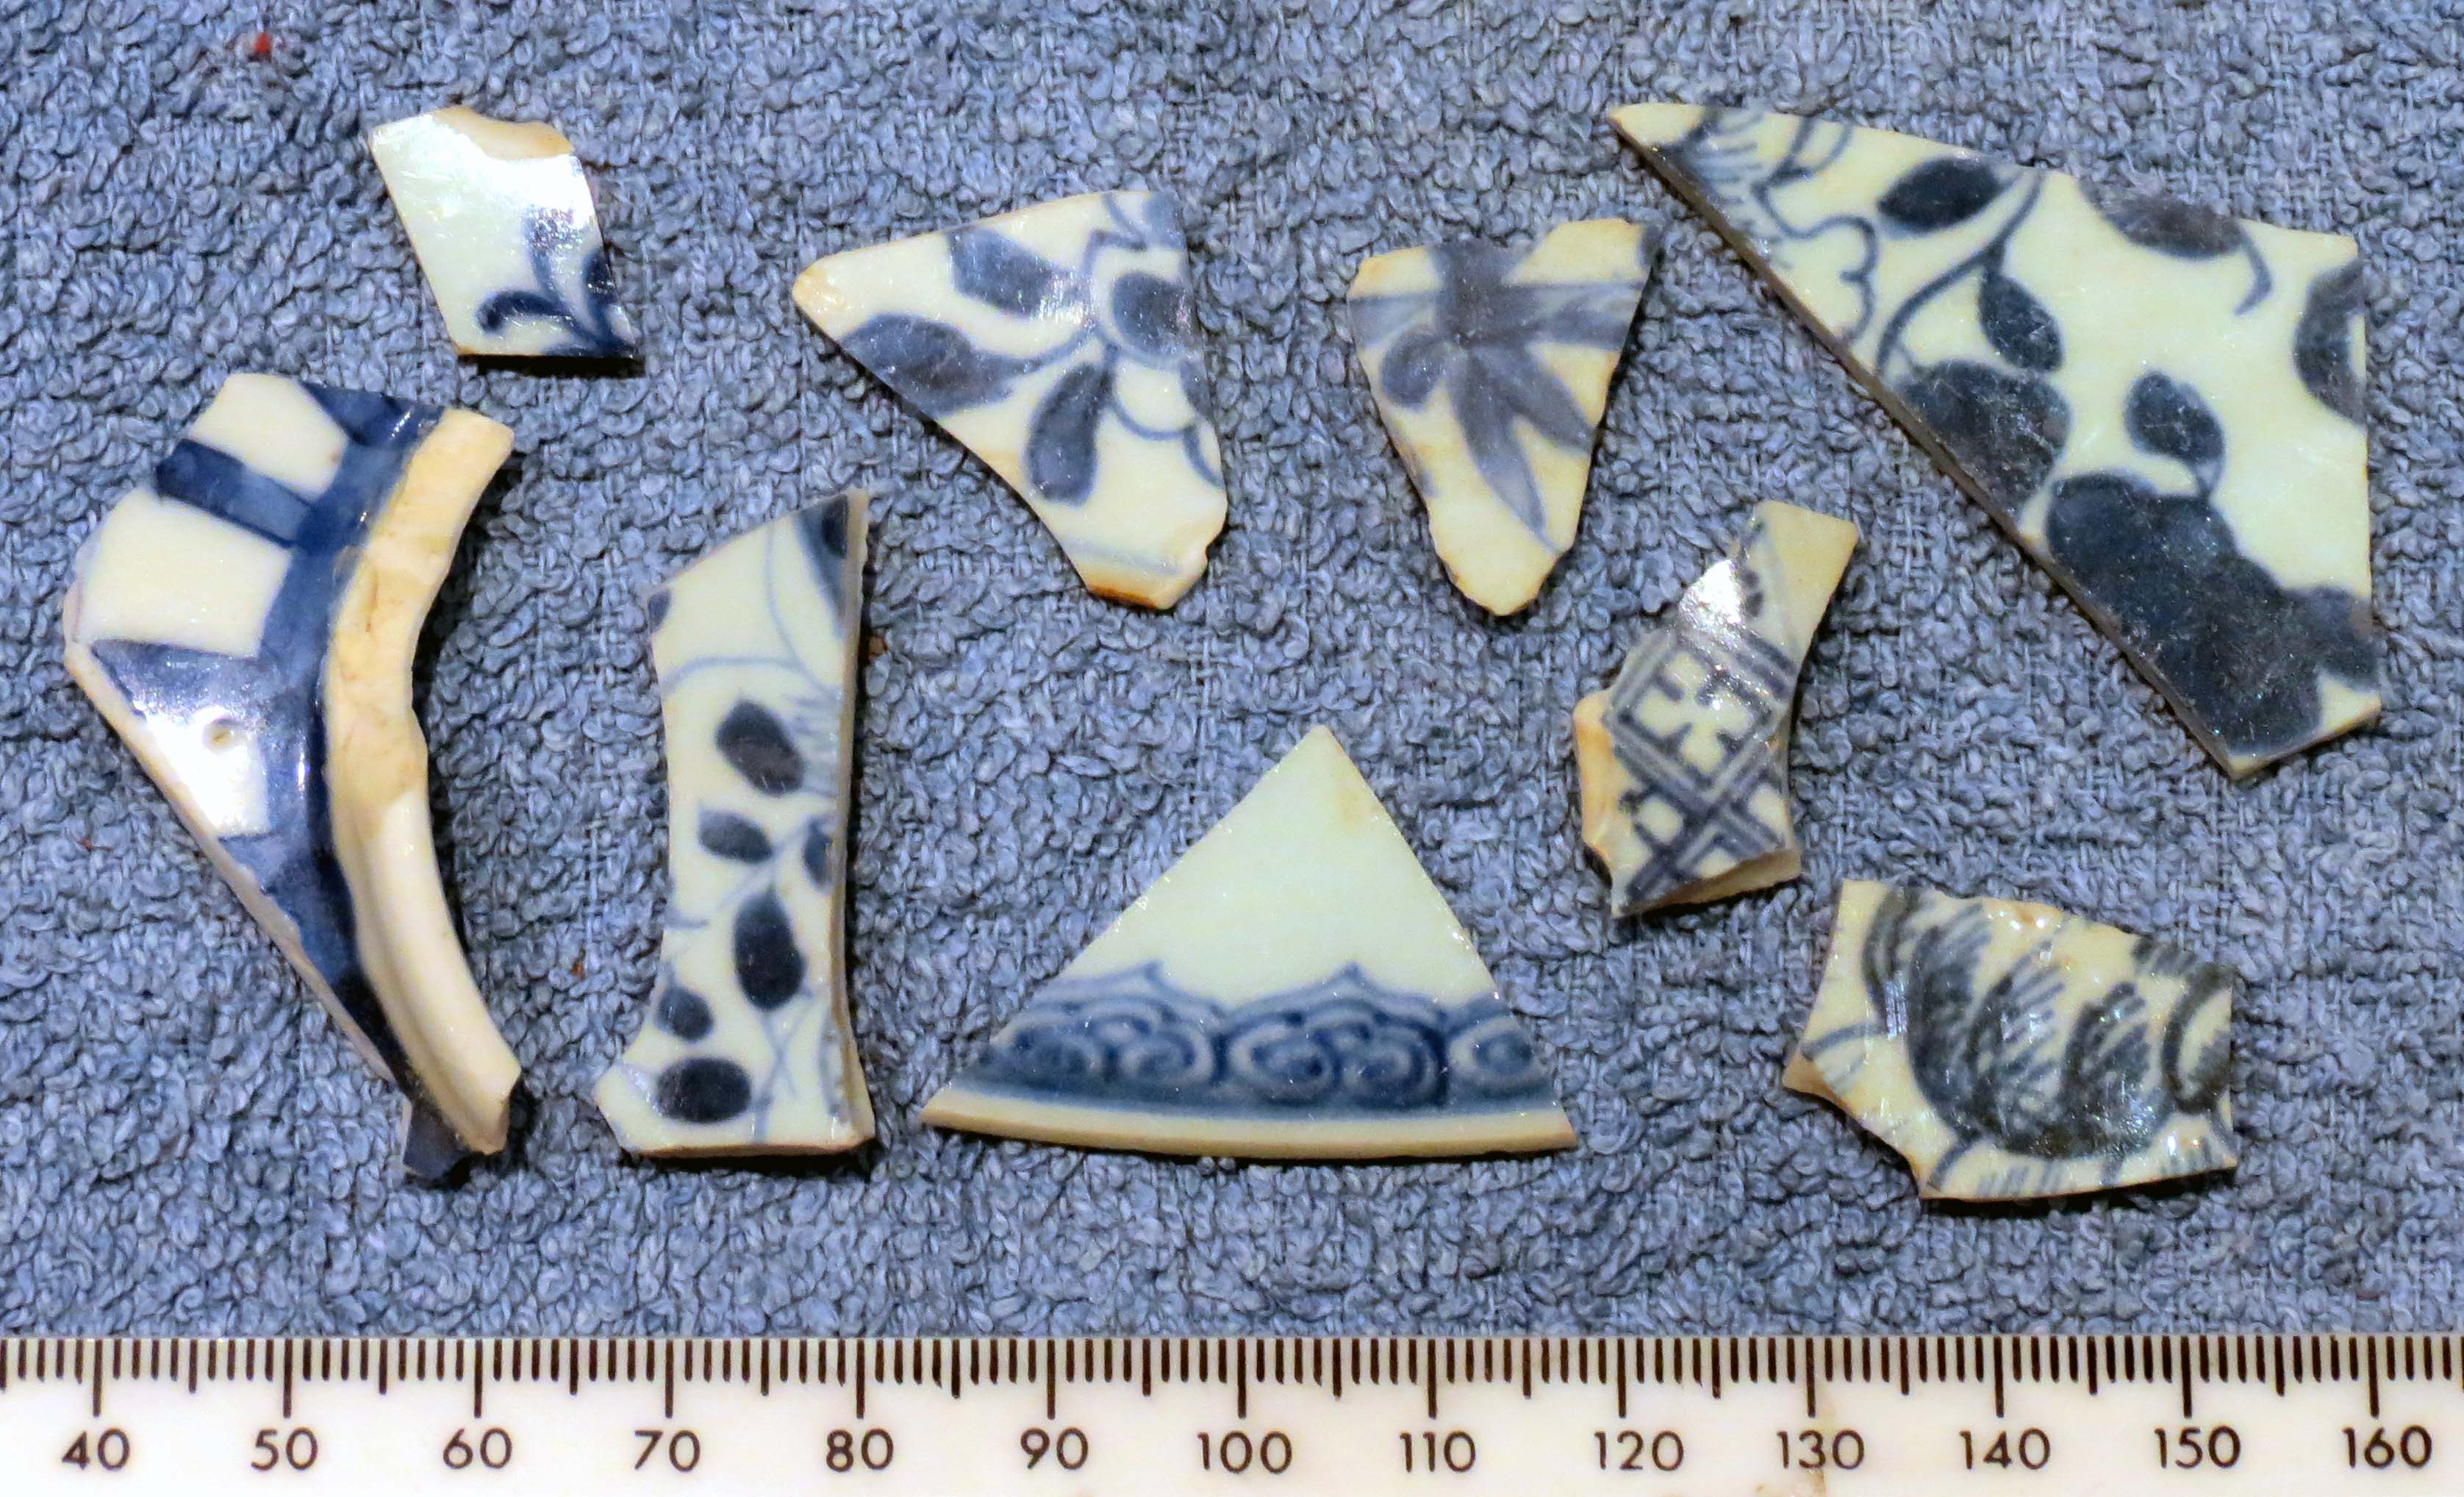
Some is delicate porcelain:
and some is coarse and chunky, like this roof tile (I liked its triangular hole), handle to a “Bellarmine” jar, and a piece of redware painted with green slip.

Some are slightly less common, like the black basalt stoneware, spongeware, and bandedware. Hmmm…and the bottom most banded piece might not belong with that group.

And pipes. Even though the spot that was so rich in pipes a few months ago has been picked over until it is nothing but boring fragments of pipe stems and crushed bowls without maker’s marks, I did find these to take home. A few maker’s marks, a couple ends of the pipe stem (see how it tapers to such a narrow end, and the way it is rounded?), and one fancy Victorian pipe stem. It says “Parker” on the reverse and “(J)ohn St” on this side.

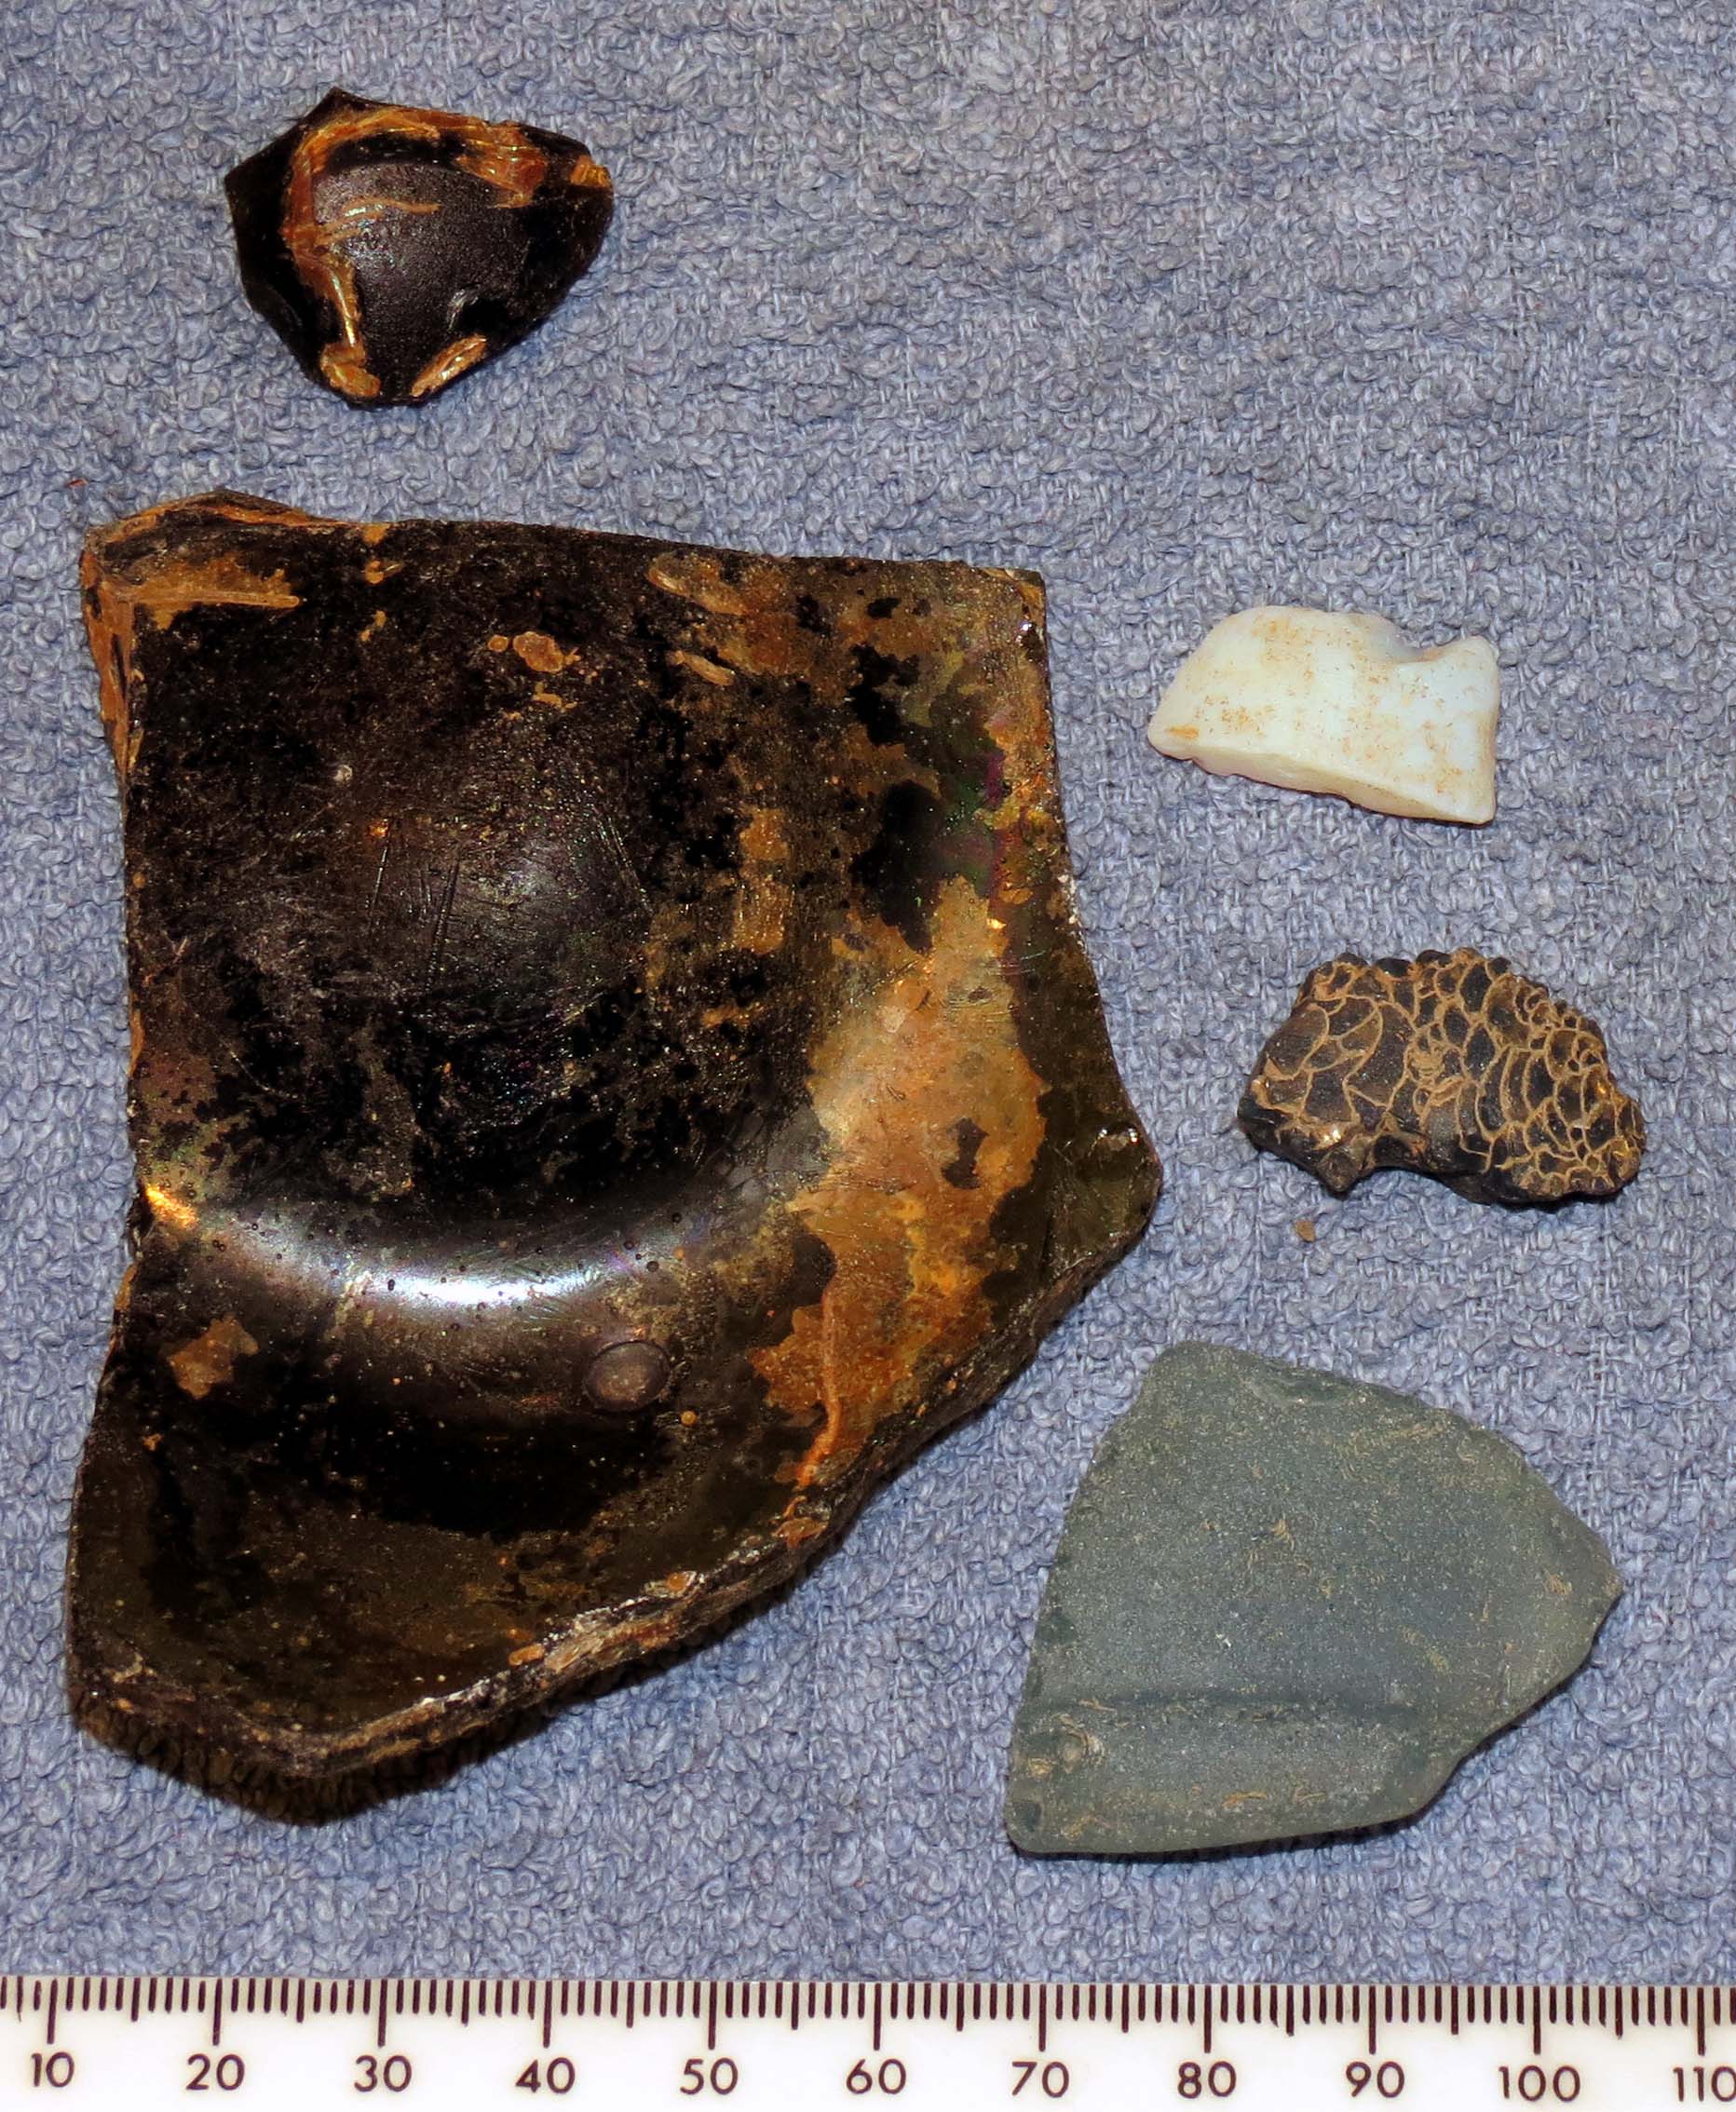
I also brought home a few glass fragments. The photo simply cannot capture what is so intriguing about these. The top bit has aged iridescent, the large one is full of tiny air bubbles, the white one has a lovely shine, the scaly one is an opaque teal color, and the bottom one is simply a nice worn bit of sea glass.
Treasures. Every last thing is, to me, a tiny treasure. And as annoying as it is to clean and dry and store everything (and to loose the use of my kitchen counter while I work through the task), I can’t wait to go mudlarking again.


