My previous post about motifs 1, 58, and 61 on my map of the Bacton Altar Cloth explained our thought that these were daffodils. As we studied the embroidery more we noticed two general rules that made us doubt the species identification:
1. Although motifs repeated, sometimes with slight variance in colouring, no species seemed to be represented by different shaped motifs.
2. While flowers might be exaggerated in size, both the flowers and the leaves seem to be fairly botanically accurate.


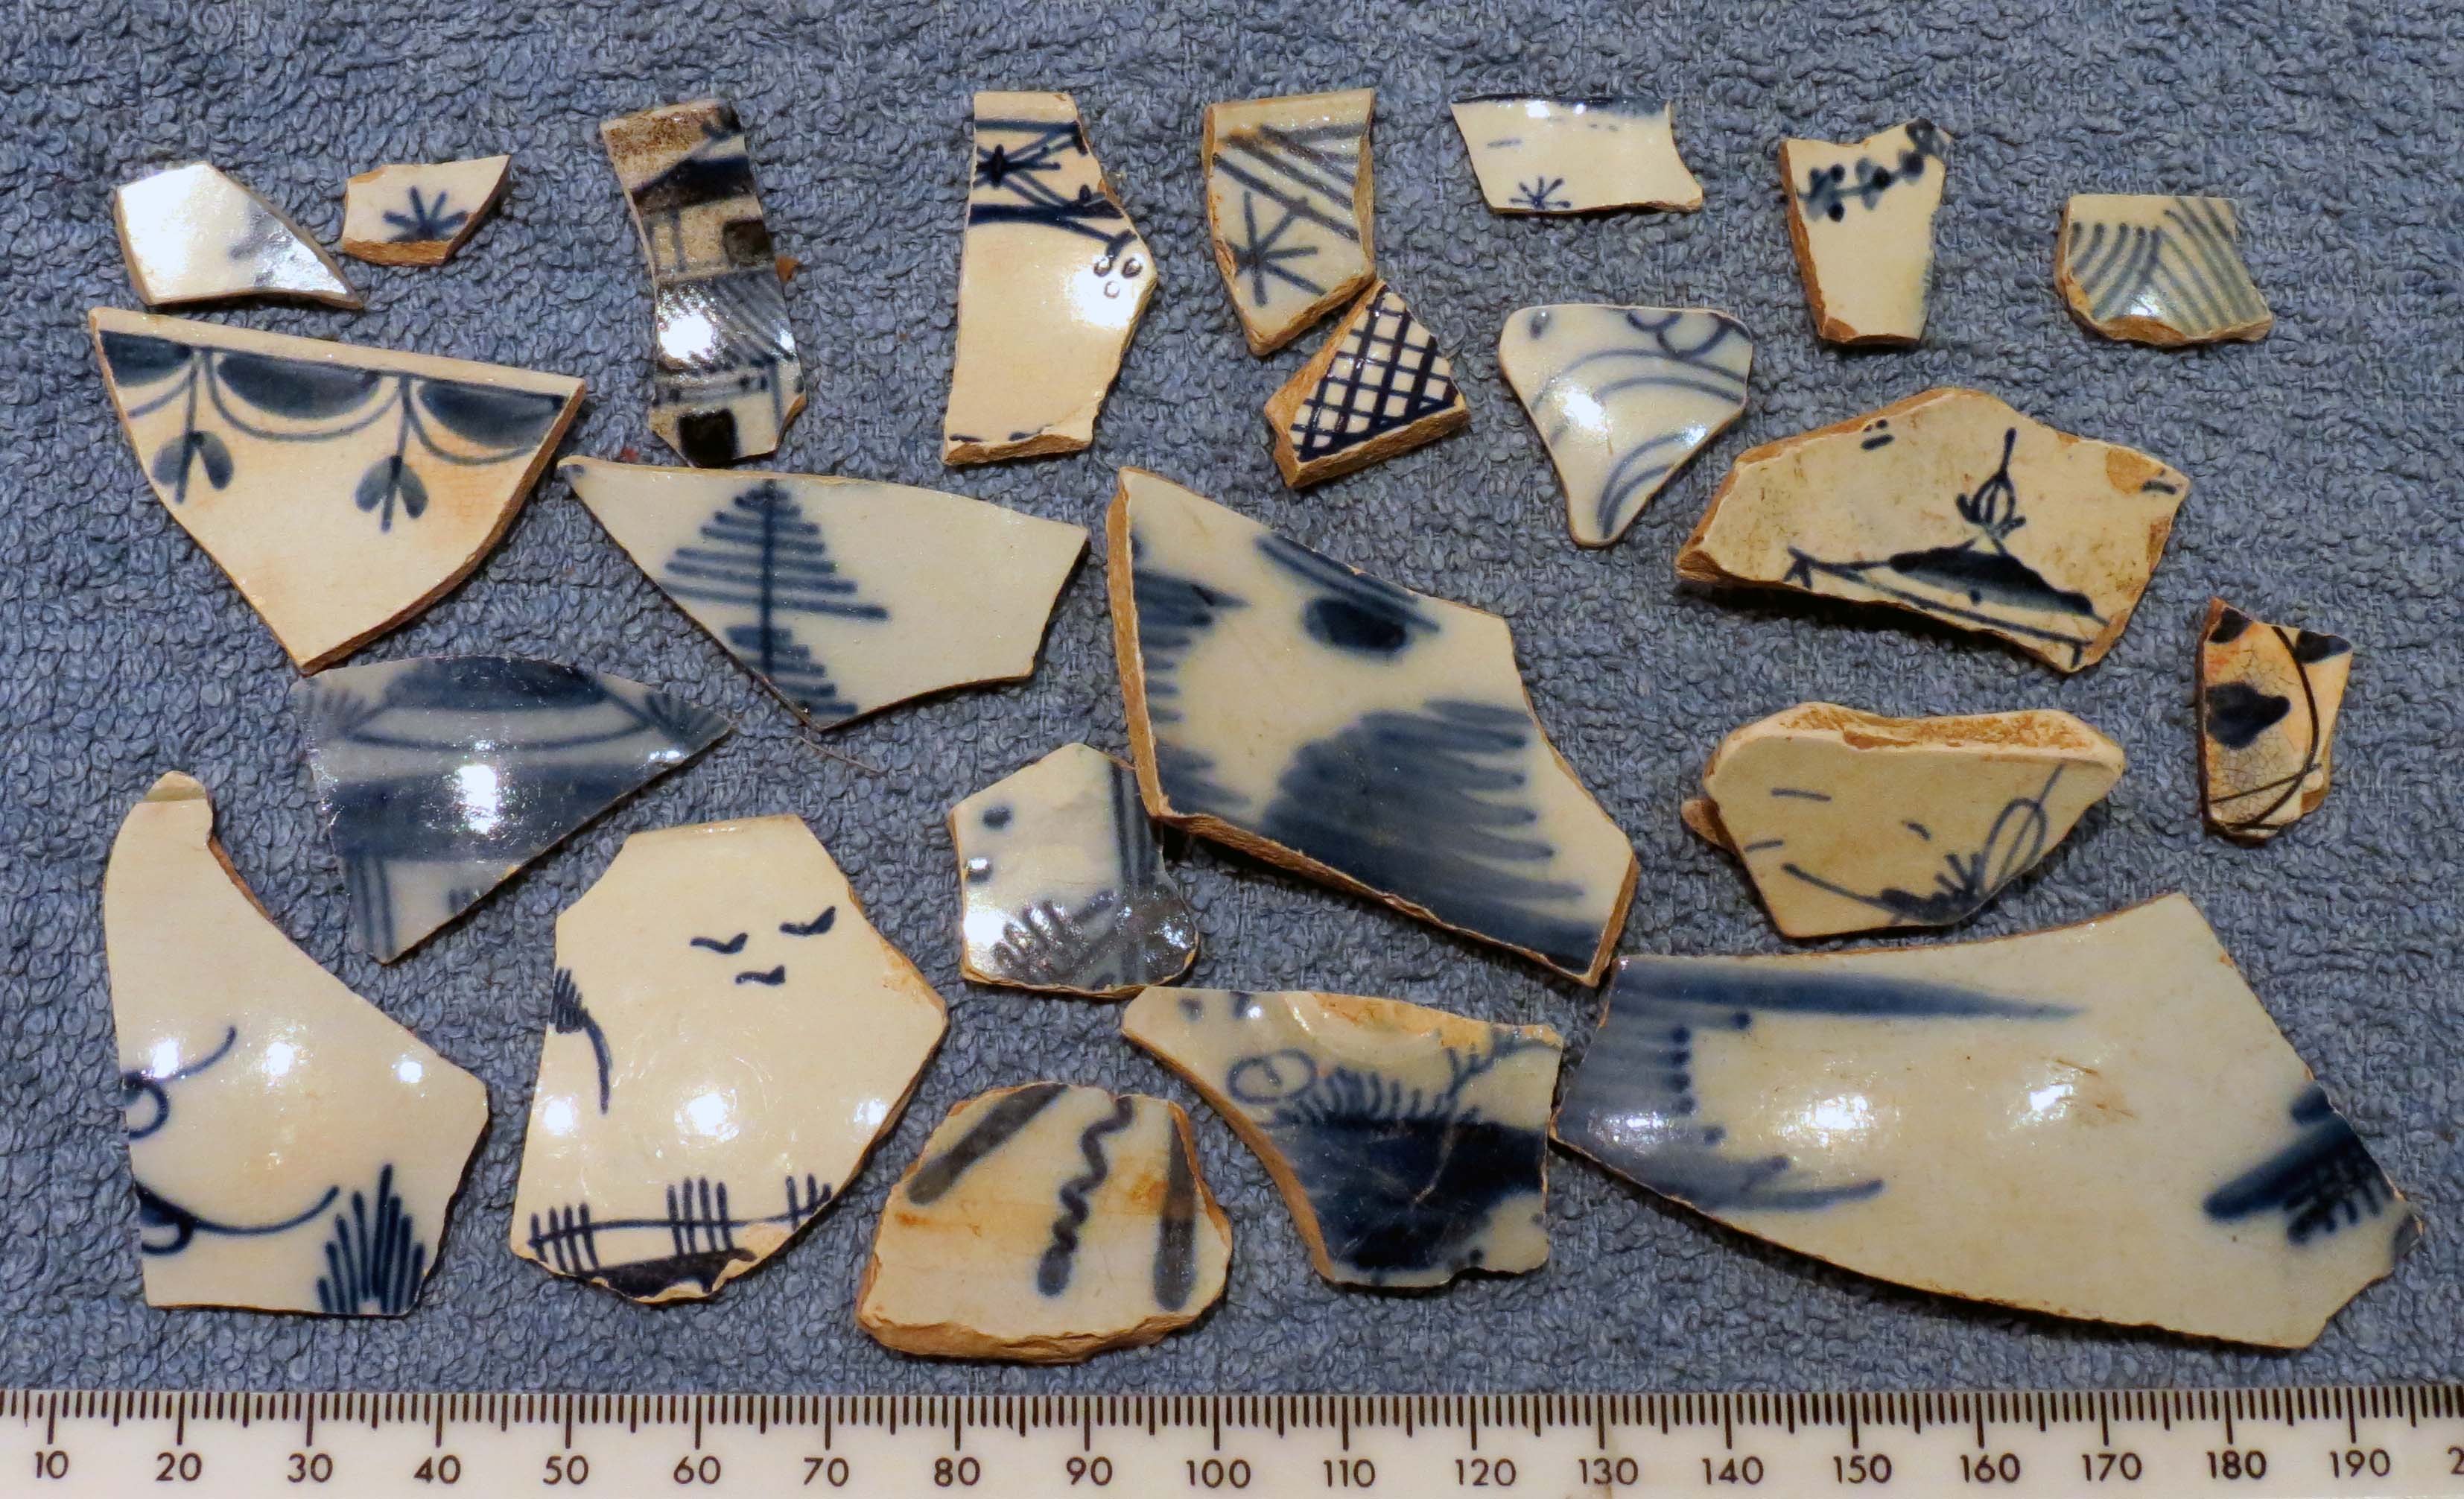
Motifs 9 and 22 show how different colours might be employed on matching flowers. Although they are not identical – the cut stem bends up on one and down on the other, and the petals of the bud are outlined slightly differently – the shape appears to be traced from the same pattern. The flower in motif 9 is worked mostly in blues, but 22 has portions in fuchsia. Motif 9 has bits of purple and green on the upper leaf and yellow in the lower leaf where 22 has instead white and yellow in the upper and blue in the lower. Identical source design; similar but distinct thread choices.
To ascertain whether species repeat on the Bacton Altar Cloth, we must label every motif with a name; we’re working on that. But it seems that if you find a rose, and then another rose, the design will be the same for both.
To explain the botanical accuracy of the leaves, I must start with a biology lesson. Most plants are grouped into one of two broad categories: monocots or dicots. Monocots usually have leaves with parallel veins and flower parts in multiples of three, and dicots usually have leaves with branching veins and flower parts in multiples of four or five. There are other significant botanical differences having to do with the seeds, roots, and vascular systems but I doubt 16th century herbalists recognised these commonalities; embroiderers certainly weren’t trying to portray such nuances.
Understanding differences between monocots and dicots is easiest with images. Many monocots we grow in gardens sprout from bulbs: tulips, daffodils, irises, and lilies are all monocots. Grasses, including decorative species such as bamboo and pampas grass, are monocots, though they have branching root systems rather than bulbs. Few monocots reach great height, palm trees and banana plants being exceptions.


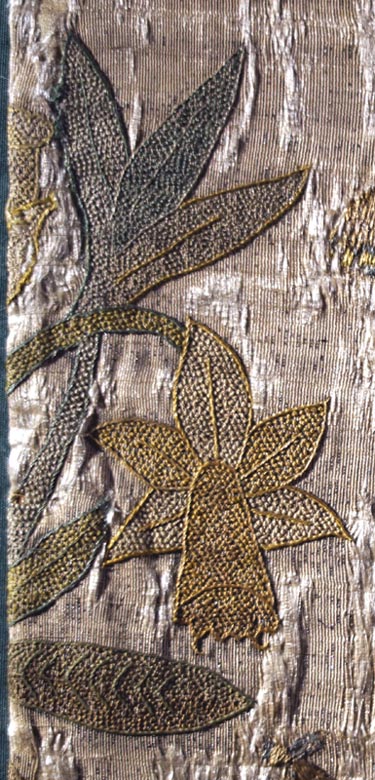
Dicots are even more common in our gardens and woodlands. Roses, daisies, grapes, peas, marigolds, foxgloves, columbines, and pansies are all dicots, just to name some species depicted on the Bacton Altar Cloth. Most woody trees and shrubs are dicots, except evergreens like pines and spruce; they don’t flower and are neither monocots or dicots. Dicot leaves have veins that branch in a variety of different patterns. Quite often there is a prominent central rib in the leaf with smaller veins splitting off from it. Sometimes these smaller veins then branch again, forming a lace-like network.
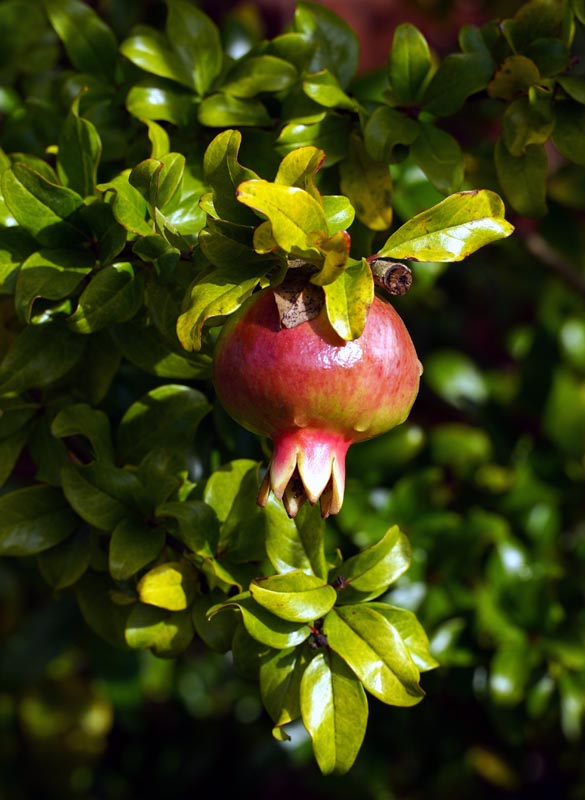
and a pomegranate tree from the Rose Garden at Hampton Court Palace
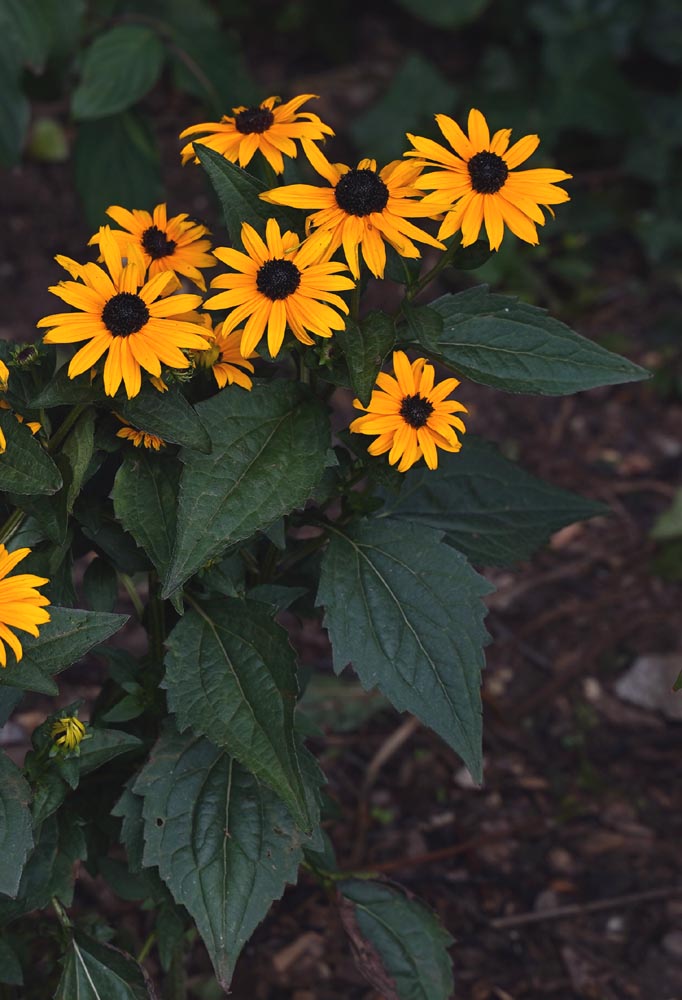
The yellow flower might also be called a coneflower or a daisy, and might easily be confused with an echinacea, which is why gardeners use latin names like Rudbeckia fulgida

Like many monocots, daffodil leaves grow from the base of the plant. They do not branch out from the stem as most dicots, including the hollyhock, do. Daffodil leaves have parallel venation; hollyhocks have branching veins in each leaflet.

How do differences between monocots and dicots appear in the Bacton Altar Cloth? All the motifs have the same general shape, with a cut stem and curving stalk off which leaves branch, sometimes with and sometimes without a petiole (that’s the stalk between the stem and the leaf). None of the designs cluster the leaves at the base, the way a daffodil grows, but they do accurately portray some leaves as having petioles (as the hollyhock does, above) and some without (like the daffodil).
The embroiderers also depicted some leaves with branching veins, as in the raspberry and thistle below, and some with a central rib but no branching, as in the iris and lily. So none of the leaves have precisely parallel veins, but the monocots still appear distinct from the dicots.


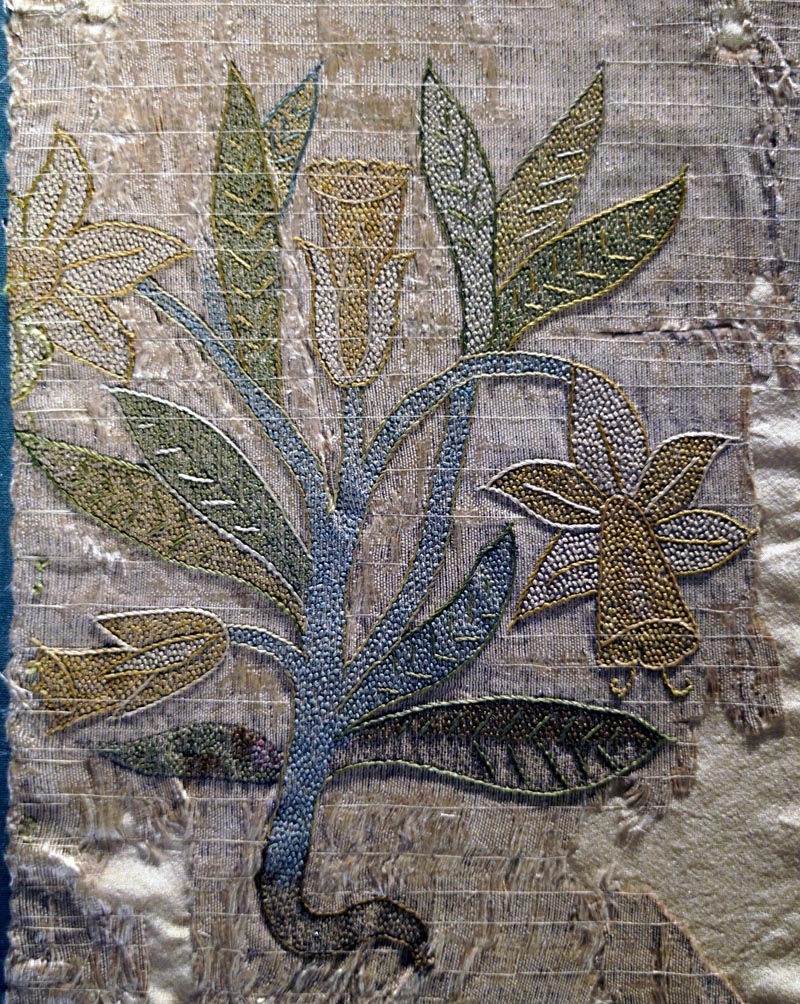
Raspberry motif 75 and Thistle motif 53

Iris motif 15 and Lily motif 34
This brings us back to the original question: what species are plants 1, 58, and 61? The flowers appear to have a central yellow tube surrounded by white or yellow and white petals in sets of three, rather like a stylised daffodil might. But the leaves have branching veins and and emerge in clusters far up the stem, not singly from the base.
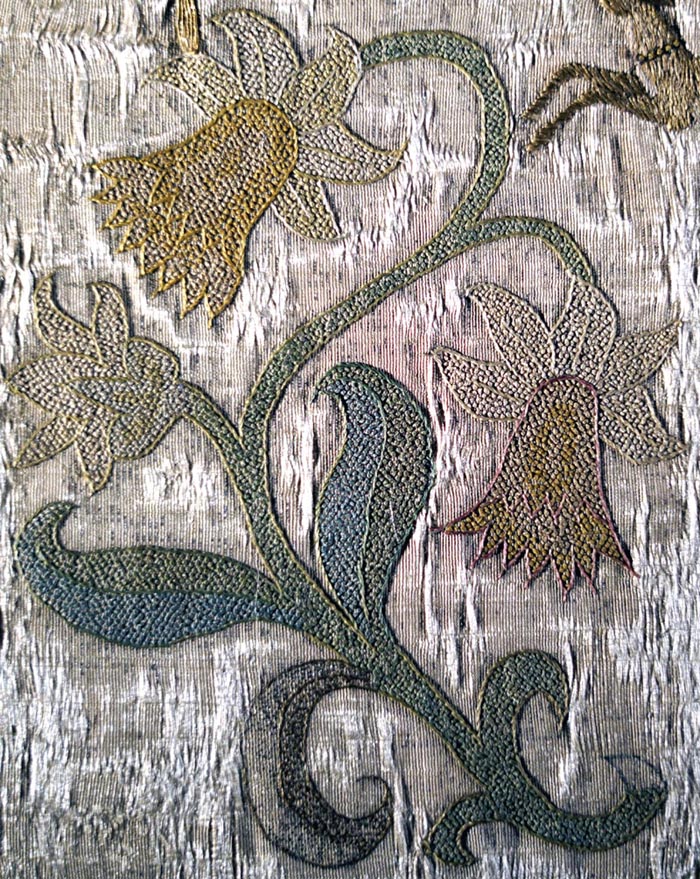
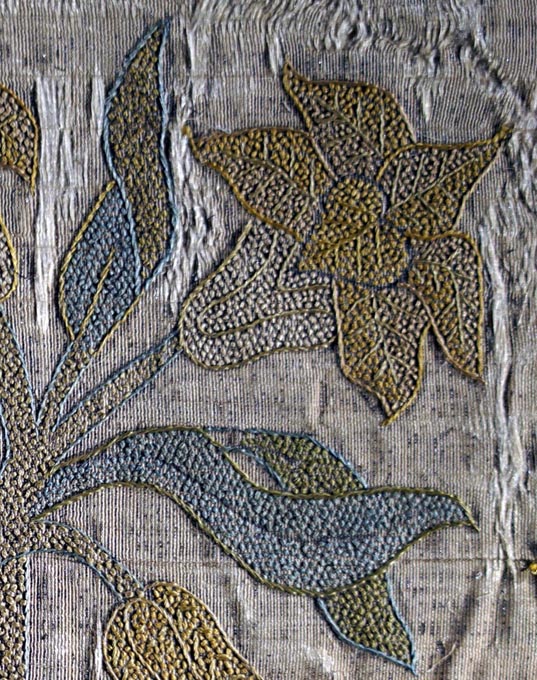
I also mentioned that each species only gets one motif, and yet here is motif 37, looking even more like a daffodil to me than number 58. All of its leaves emerge low on the stem and lack branching venation. Its blossoms show a central yellow tube with five white petals at the base, but I imagine a sixth petal hidden completely behind the yellow tube. The zigzag ends of each tube call to mind the ruffled effect I see on many daffodils.
So, what are these two plants meant to be? Was motif 1 a daffodil drawn by a less knowledgeable herbalist or maker of pattern books? Is it meant to be a dicot species with a tube shaped flower, not a daffodil at all? Did the person selecting the motifs consider plants 58 and 37 different species because they were labeled with different names? Even today we call members of this genus narcissus, daffodil, paperwhite, Lent lily, and jonquil. In the 16th century they might have born such names as affodill, asphodel, and narcissus.


and the Common yellow Daffodilly from John Gerard’s Herball, or Generall Historie of Plantes, first published in 1597
What flowers do you think these motifs represent?